| Element | What it means in a food shot | Planning use |
|---|---|---|
| Rule of thirds | A grid of two vertical and two horizontal lines that splits the frame into nine equal squares | Place the main part of the dish along a line or at an intersection instead of dead centre. |
| Negative space | The space that surrounds the subject. With less going on in the frame, there is more of it. | Remove items until the dish has room, then judge how much room suits the plate. |
| Focal point | One or two points that direct the eye to where it should look | Decide what the viewer should see first before adding any prop. |
| Framing | A frame within the frame that highlights the subject | Let the dish’s surroundings form a loose border around the main element. |
The definitions above follow the food photography composition tips on Regan Baroni’s blog and the composition techniques from Creatively Squared.
Strong food photography composition tips come down to a few decisions: where the dish sits on the grid, how much space surrounds it, and what the eye sees first. Settle those before styling, and treat each as a guideline rather than a law.
The sections below follow a shoot from an empty frame to a finished plate, using Italian dishes such as spaghetti al pomodoro and bruschetta as examples. Anyone building the wider setup can start with food photography for beginners and return here for the framing decisions.
Clearing the scene before you frame
Clutter is the first thing to deal with, because everything left in the frame competes with the dish. Regan Baroni notes that when there is less going on in the frame, you may end up with more negative space, so removing items is the quickest way to create room.
Props still have a job. Professional food photographers writing at We Eat Together advise that props should relate in some way to the main dish and add to the story, without stealing the show. A fork, a napkin and a basil leaf all belong beside spaghetti al pomodoro; an unrelated jar does not.
- Strip the set. Take away everything that is not part of the dish or its story.
- Add back with a reason. Return only props that relate to the plate, such as cutlery or a herb leaf.
- Set a calm backdrop. Regan Baroni describes backdrops as sitting behind the food to create a less distracting background.
- Check the balance. If a prop draws the eye before the food does, move it out of frame or remove it.
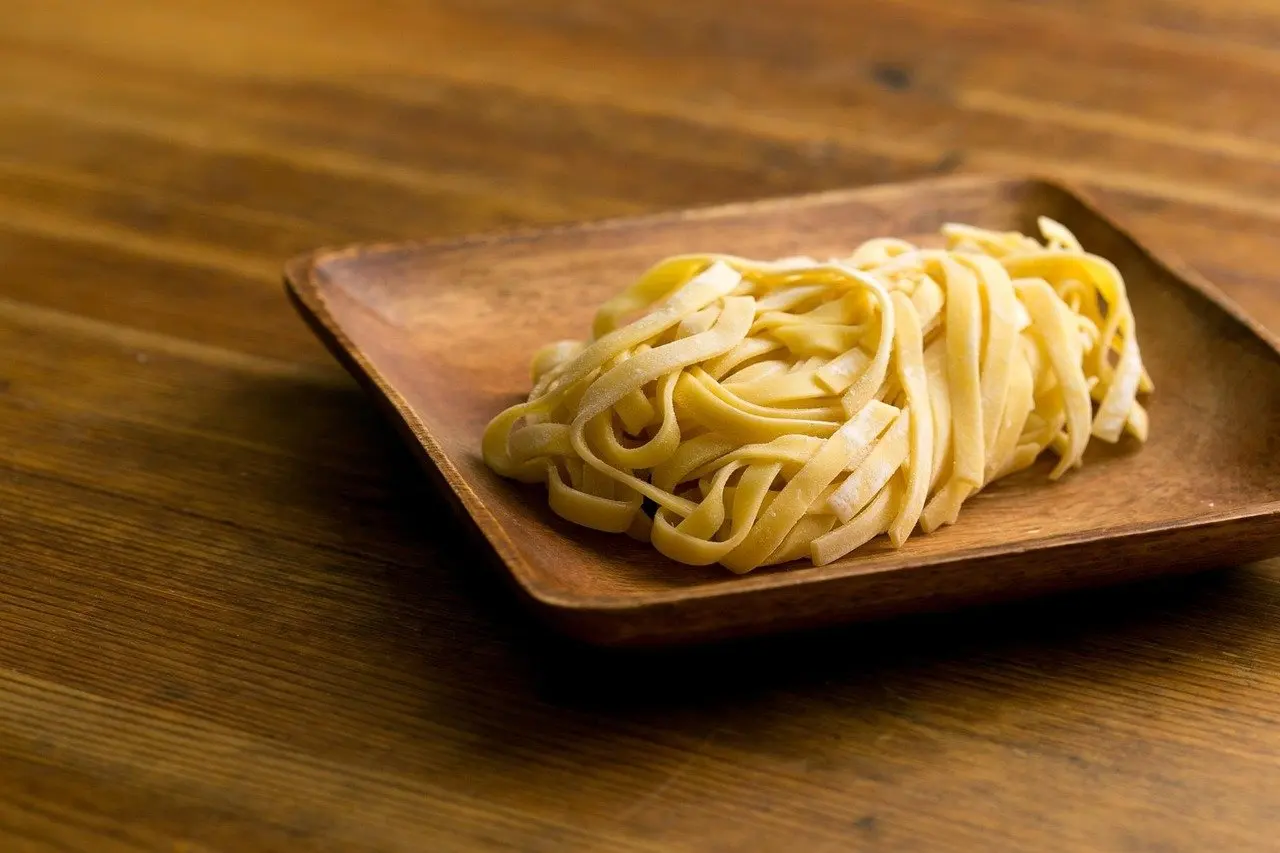
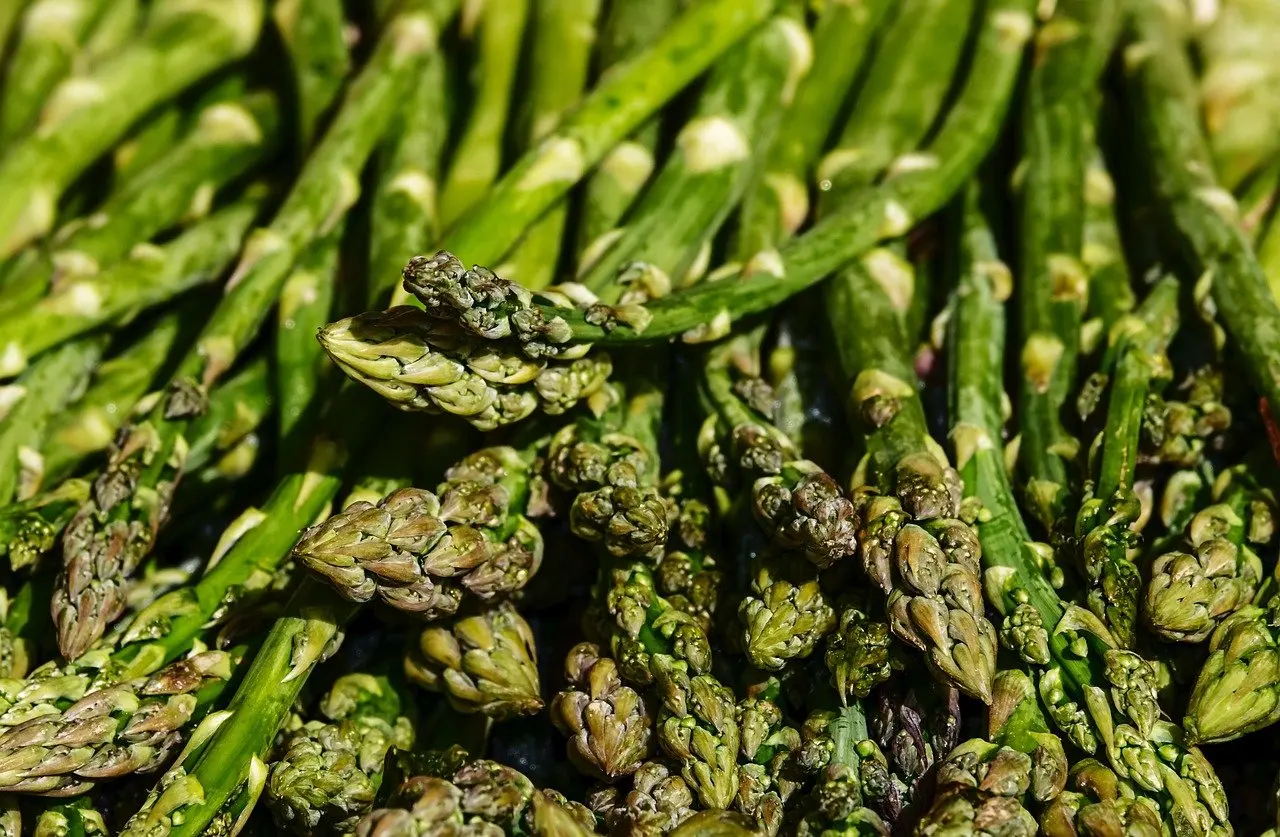
A frame packed edge to edge, like the bundle above, shows what happens when nothing is left out. Once the scene is clean, the dish can be placed deliberately.
Placing the dish with the rule of thirds
The rule of thirds divides the frame into nine equal squares, using two vertical and two horizontal lines. Creatively Squared advises aligning the most important element of the photo along these lines, and Regan Baroni adds that the points where the lines intersect are where you could consider placing food and props.
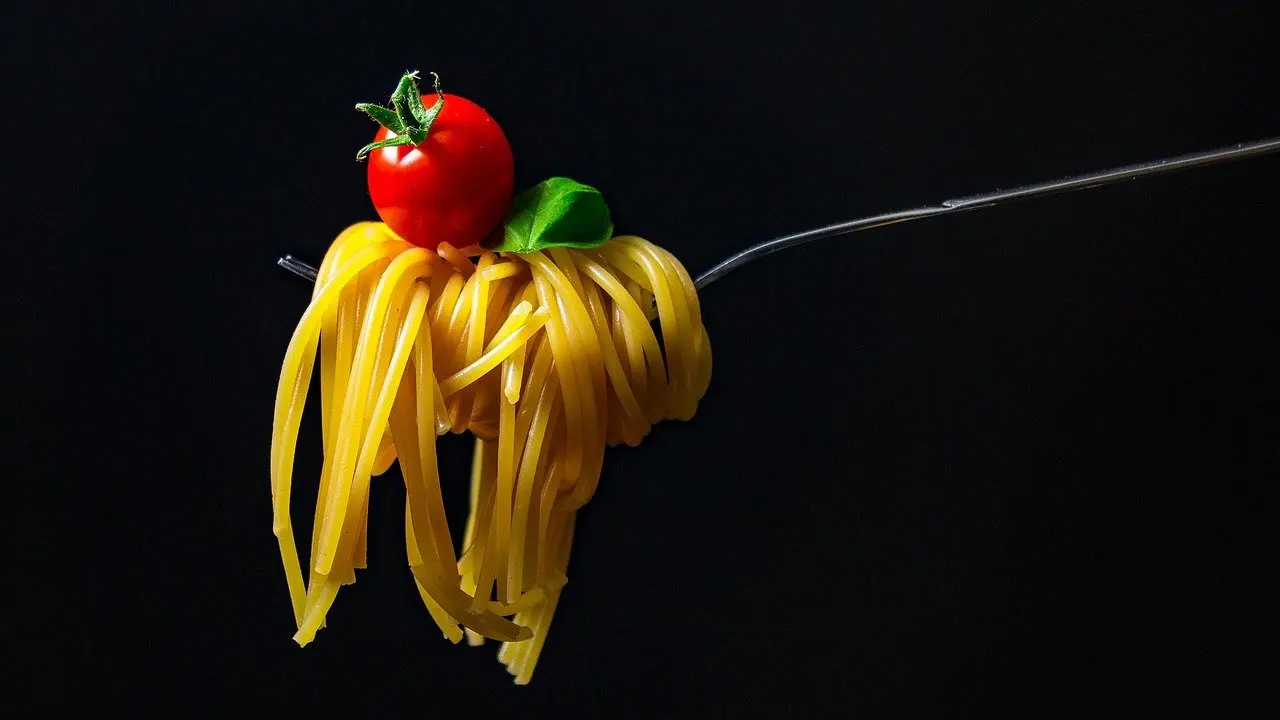
For a plate of food, the practical question is what counts as the “most important element”. On a bowl of pasta it is the twirl or the sauce-covered centre, not the rim of the plate. Put that part on a line or intersection and let the rest of the plate extend away from it.
- Switch on the grid overlay. Use the camera or phone app so the lines are visible while you compose.
- Start centred. Frame the plate in the middle to see the baseline version.
- Reframe off-centre. Move the camera or the plate until the main element sits near an intersection.
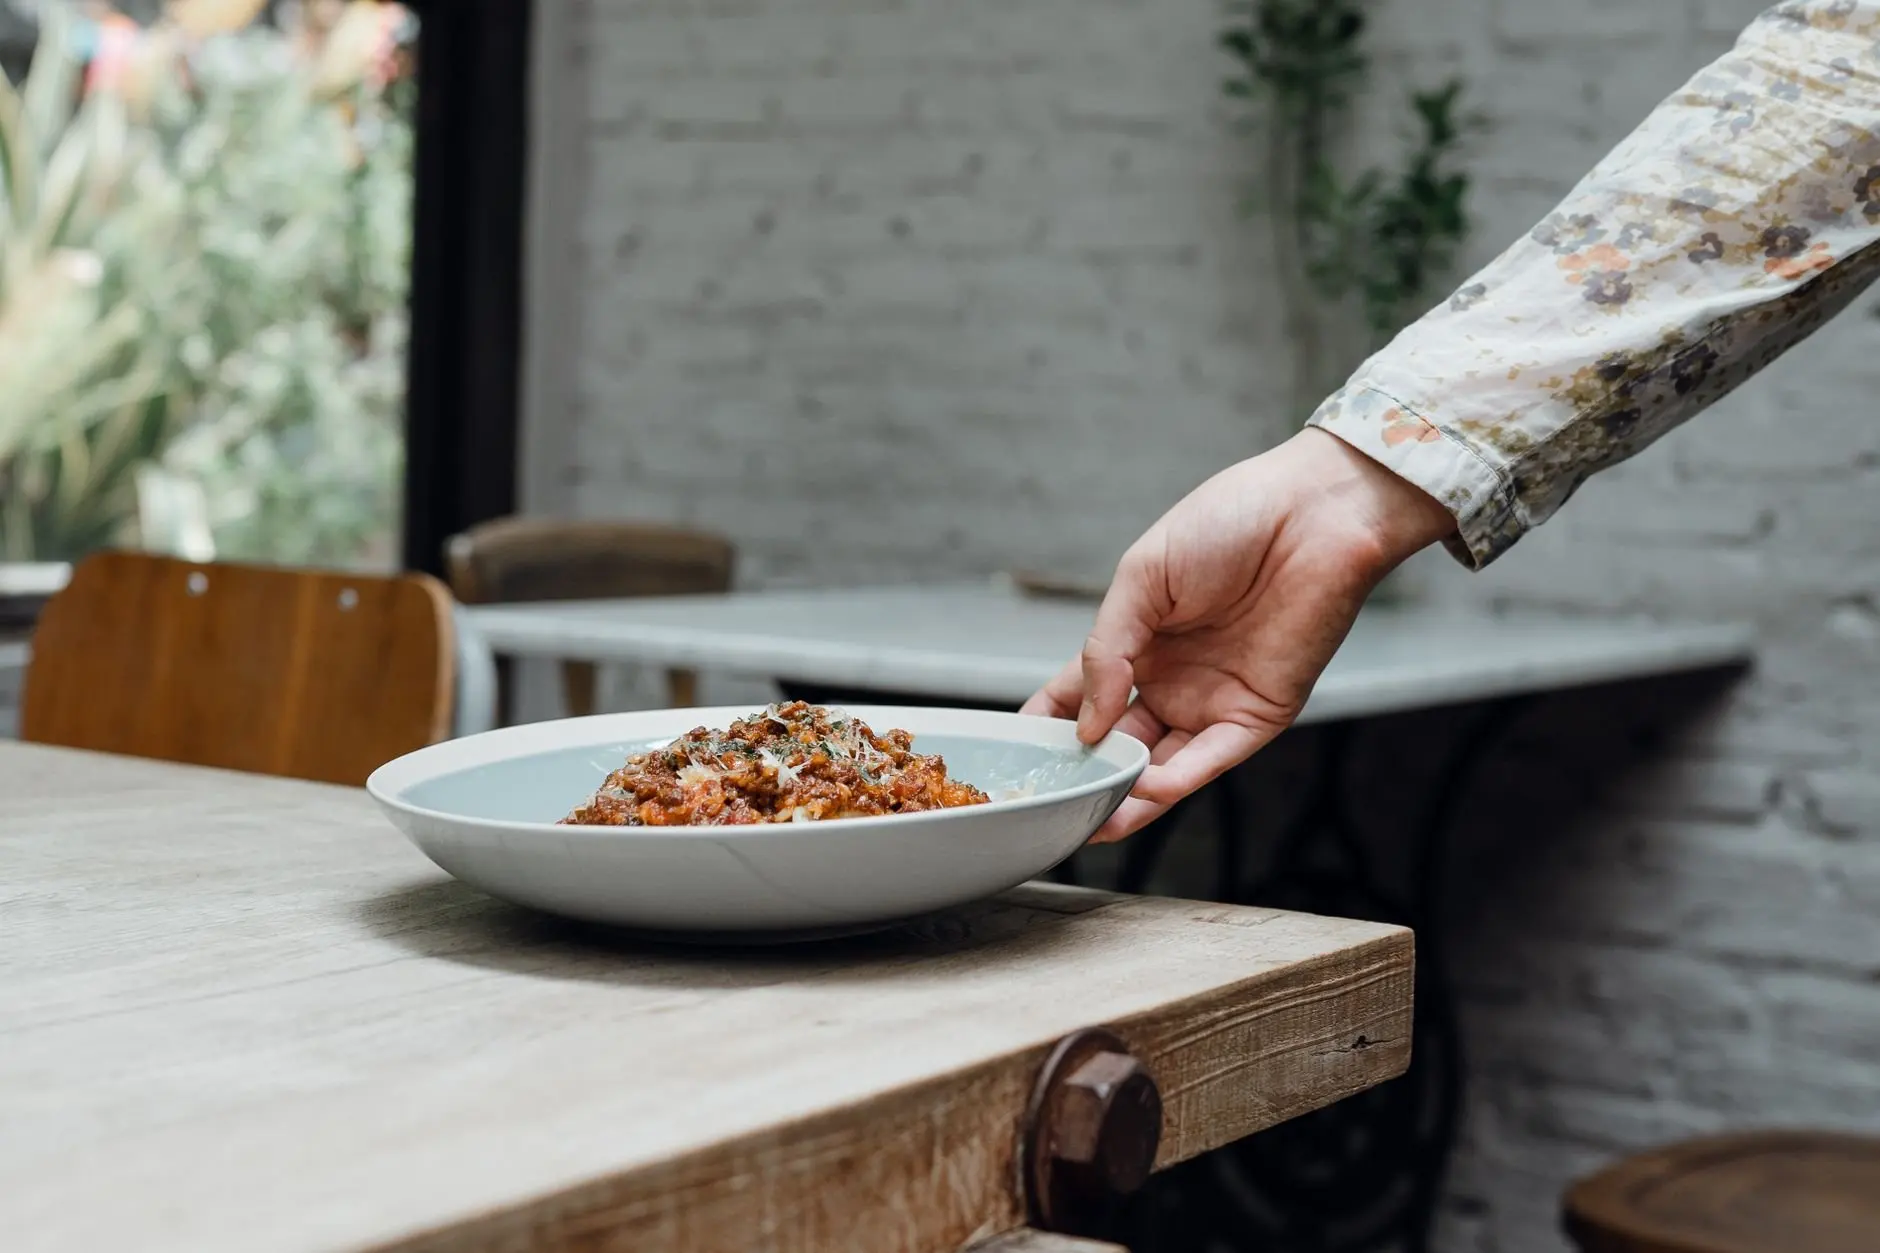
- Use the opened side. The side the dish has moved away from becomes negative space, which you can keep clean or fill with one supporting prop.
- Compare both frames. Keep the one where the eye lands on the food first.
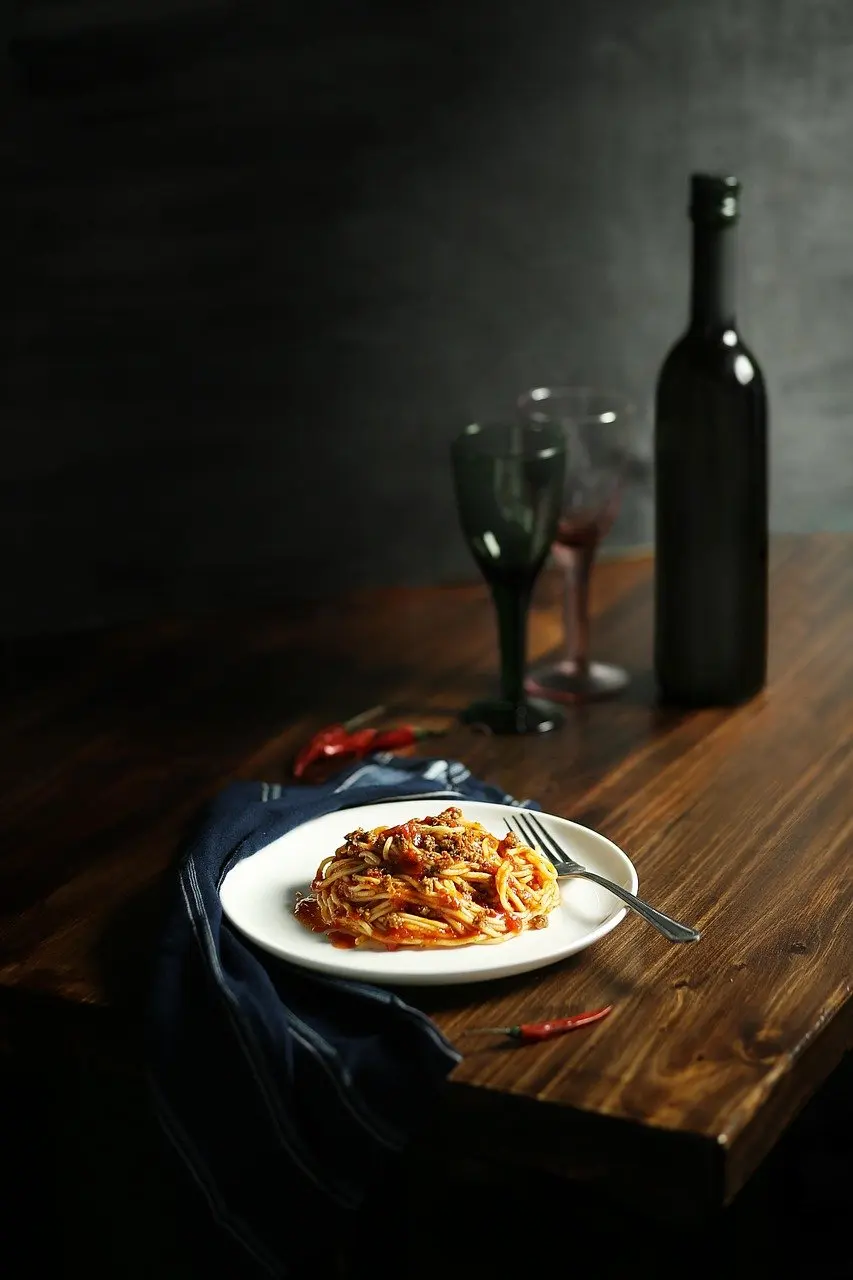
This centred-then-off-centre comparison works for any Italian plate, from a bowl of soup to a slice of cake. With the dish placed, the next decision is how much empty space to keep around it.
How much negative space to leave around a dish
Negative space is the space that surrounds your subject, according to Regan Baroni. Creatively Squared adds that leaving room for it makes the focal point more impactful, so the empty area is working for the dish rather than being wasted.
No fixed proportion is given by either source, and Regan Baroni states plainly that there are no set rules in composition. A better test is whether the dish still reads at a glance. Use these judgements to decide:
- Simple, graphic dishes. A single bowl or one cluster of food generally suits generous open space, because there is little else to look at.
- Layered or rustic plates. Dishes with many components need less empty area around them, since the food itself supplies the interest.
- Reduce before you zoom out. Because less content in the frame gives more negative space, remove props first and pull the camera back only if the dish still feels cramped.
- Keep it intentional. If the empty area looks like leftover table rather than a chosen pause, adjust the position of the dish or crop closer.
Once the amount of space feels right, the eye needs a clear place to land inside the frame.
Choosing a focal point and framing it
A focal point is the part of the image the viewer should notice first. Creatively Squared describes adding one or two focal points to direct the eye exactly where to focus, and the same source describes its triangle method as creating a frame within the frame to highlight the subject.
Picking the focal point in a busy scene
In a crowded scene, name the single element that carries the dish and build everything else to support it. For a plated main course, that might be the sliced meat; for pasta, the twirl. Anything that pulls attention away, including props that start to steal the show, should be moved, shrunk or removed.
Using cutlery, layers and focus to frame
We Eat Together points out that a fork and spoon can do a good job framing pasta, and that a foreground and a background bring layers and framing into the picture. Regan Baroni explains that a wide aperture (lower f-stop) gives a shallow depth of field, which softens what surrounds the focal point.
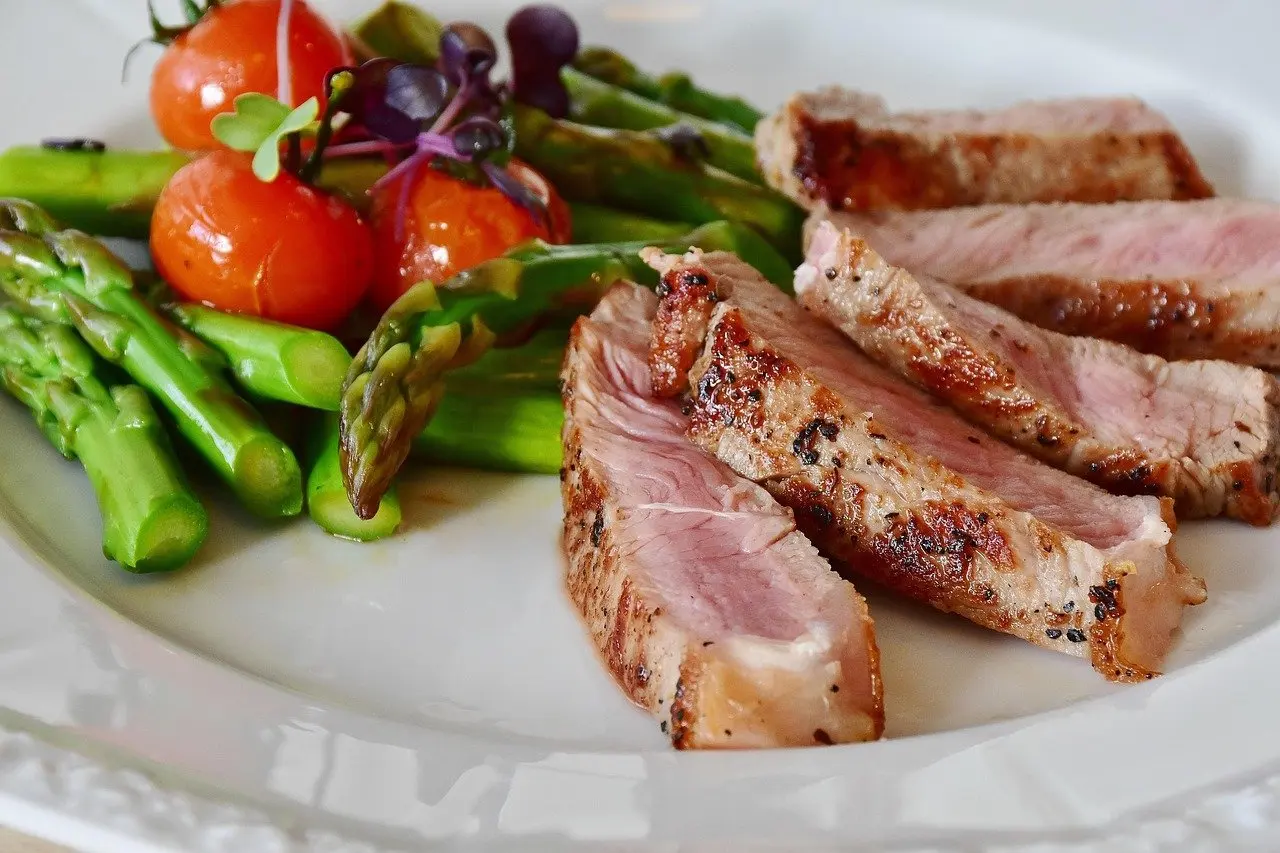
The same logic applies to Italian plates: pick the element that makes the dish recognisable, then arrange the garnish to point toward it. With a focal point chosen, lines and angles can guide the eye to it.
Leading lines, camera angle and grouping
Leading lines are any edges or repeated shapes that carry the eye toward the focal point. Creatively Squared describes a spiral, or snail motif, that creates a visual path through the frame and leads the eye, which maps neatly onto twirled spaghetti.
Repeated items can do similar work as a suggestion rather than a rule. Rows of bruschetta slices, the long edge of a board or a fork laid at a slant all give the eye a direction. Pointing those lines at the focal point works better than letting them run off the edge of the frame.
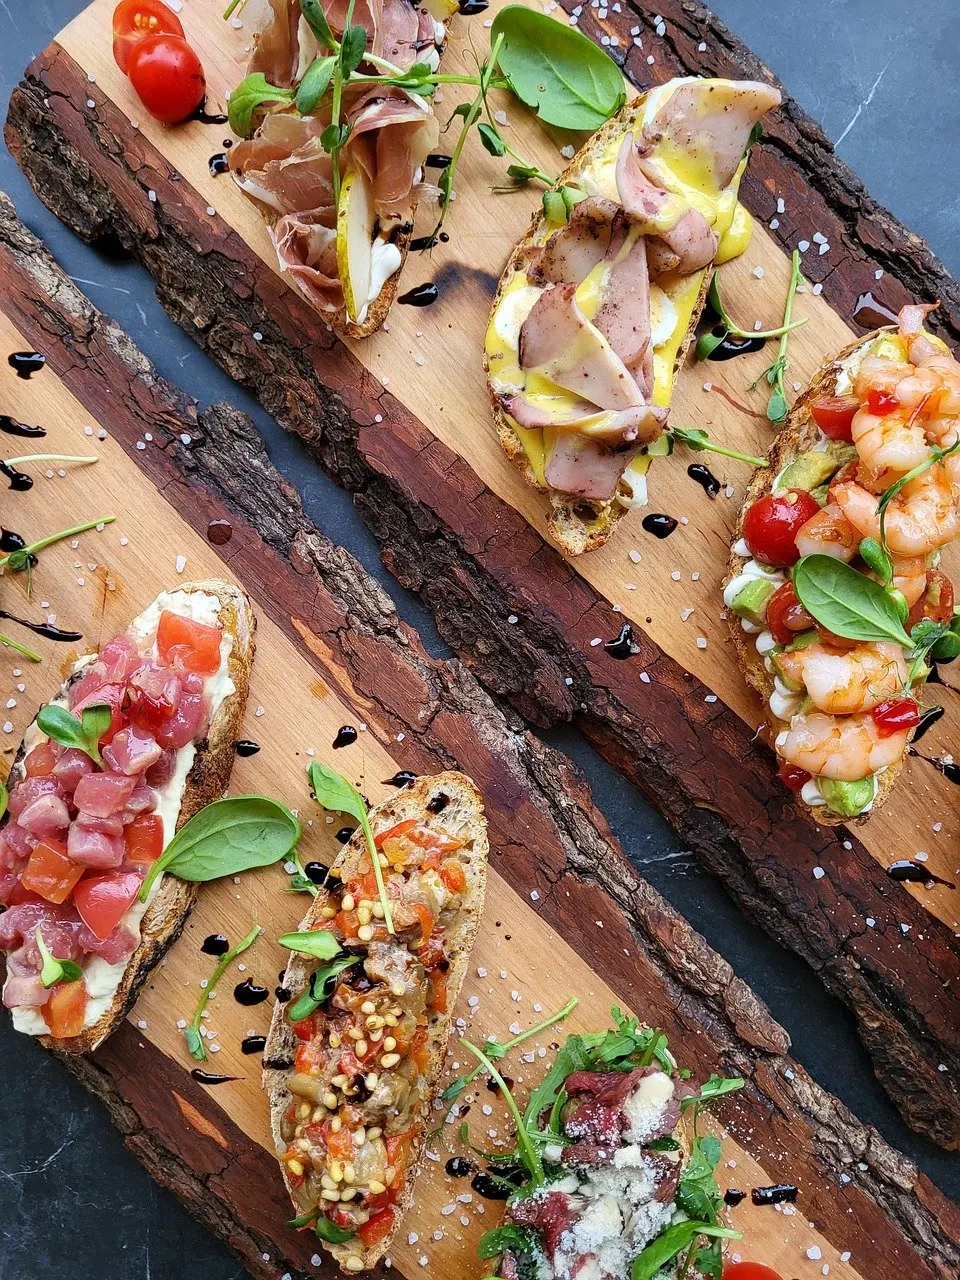
Angle changes how those lines appear. We Eat Together names two common food camera angles: the 0-45 degree shot and the 90 degree shot. The overhead 90 degree view flattens a scene into shapes and lines, while a lower angle shows the height and layers of the food. The guide to food photography angles covers choosing between them in more detail.
Light also affects how clearly all of this reads. A diy reflector for food photography is one inexpensive way to deal with that before adjusting the layout.
Breaking the guidelines on purpose
Breaking a composition rule is fine once you can say what the rule was protecting. Creatively Squared prefers to call them guidelines that exist to help you develop your own style, and describes them as golden rules to follow and then break at will. Regan Baroni agrees that there are no set rules, which is why practice matters.
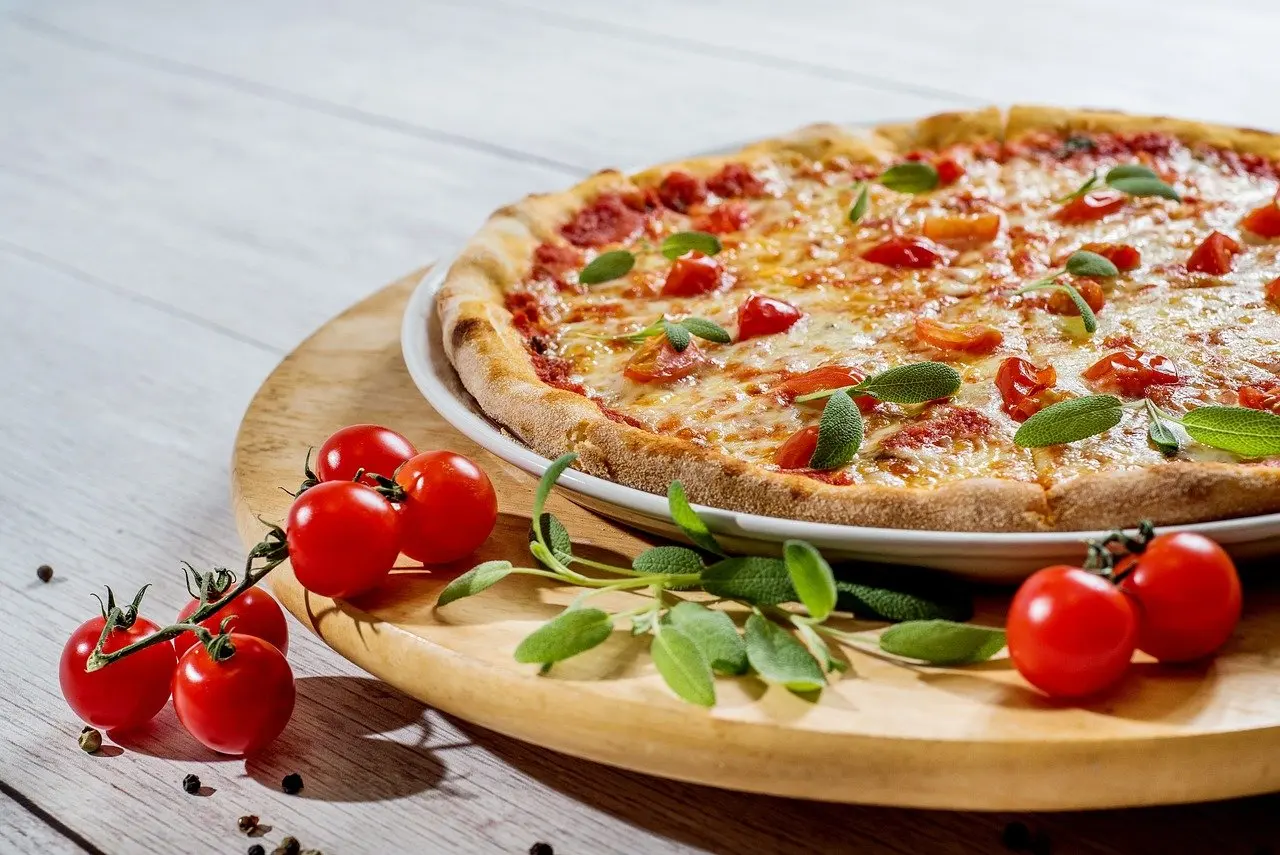
A deliberate centred plate can work for a symmetrical dish such as a whole tart or a round of pizza, where balance is the point. A tightly cropped shot with almost no empty space can suit a rich, textured dish. In both cases the focal point must stay obvious and the props must still relate to the food.
- The break is working when the eye still lands on the food first and the frame feels deliberate.
- The break is failing when the viewer cannot tell what the subject is, or the empty area looks accidental.
- When in doubt, shoot the guideline version as well and compare the two frames side by side.
Frequently asked questions
What are the basic rules of food photography composition?
Regan Baroni lists four things to consider: orientation, angles, arrangements and color theory. The rule of thirds, negative space, focal points and framing sit inside those choices, and all of them are guidelines rather than fixed laws.
Can I use the rule of thirds grid on a phone?
Yes. Regan Baroni says a grid overlay is available in the camera menu, in phone settings or in editing software, and Creatively Squared notes that most cameras can overlay a grid from the main menu settings.
Which aperture helps a dish stand out from the background?
Treat that as a starting range rather than a fixed setting.
Is it better to stick to one camera angle?
Choosing one and practising it is a sensible way to build skill before experimenting.