A DIY reflector for food photography is a white foam board or poster board placed opposite the light. It bounces light back to fill shadows. A sheer curtain or layered parchment paper in front of the light softens harsh window light first.
This how-to belongs to the wider food photography for beginners series. It covers the cheap modifiers that sit between a window and a plate. The window itself, and when to shoot by it, are covered in the guide to natural light food photography.
What you need before you start
The setup uses one main light, one softener and one bounce. A window is the usual main light at home. Natural light is beautiful but not always reliable, so the same dish can look different as weather and time of day change, according to Bootstrapped Ventures. The materials below are all cheap and found around most homes.
- A white reflector. A foam board or white poster board is enough to bounce light back onto food and soften shadows.
- A diffuser. Sheer white fabric or a white curtain works. Layers of parchment paper stapled together also work.
- A black card or black foam board. This is optional. It does the opposite job to the white board and is covered in Step 5.
- A dish and a table beside the light. Side lighting is the layout this guide follows, with the diffuser on the light side and the reflector on the far side.
| Material | What it does to the light | Planning use |
|---|---|---|
| White foam board or poster board | Bounces light back onto the food and softens shadows | First thing to make; it is the core reflector |
| Sheer white fabric or curtain | Diffuses light so it mimics soft daylight | Hang or drape it between window and dish |
| Stapled parchment paper layers | Acts as a simple, effective diffuser | A handheld option when no curtain is available |
| Black card or black foam board | Absorbs light, deepens shadows and adds contrast | Use it for a moodier result or to block unwanted light |
The material effects above follow the tutorial from Bootstrapped Ventures.
Build and place the setup
Work through the steps in order, because each one changes what the next one has to correct. Look at the plate after every change rather than adjusting everything at once.
Step 1: Set the dish beside the light
Put the dish on a table next to the window so light reaches it from the side. Side lighting gives the food shape, and it also creates the shadow side that the reflector will fill later. Before adding anything, take one test frame. That frame shows how hard the shadows and highlights are, and it is the reference for every later change.
Step 2: Soften harsh light with a diffuser
Place a diffuser between the light and the food to soften harsh shadows. Light can be too harsh, creating unwanted shadows or highlights, and a diffuser softens it so it resembles the gentle glow of natural daylight. A sheer white curtain across the window is the easiest version. Sheer white fabric draped over the light source mimics soft daylight in the same way.
If no curtain is available, staple layers of parchment paper together and hold them in front of the light. Soft light comes from a large light source, so a wider diffuser helps more than a small one. When the light is a lamp, moving it slightly farther away also gives a more gradual fade.
Step 3: Make the reflector
Use a foam board or white poster board as the reflector. Nothing needs to be cut or built. The board only has to be large enough to catch light and send it back toward the shadow side of the plate. A reflector is a way of filling shadows, not of adding more light. The shadows get lighter while the direction of the light stays the same.
Step 4: Place the reflector opposite the light
Set the reflector on the side opposite the light, close to the dish, so it bounces light back into the shadows. Hold or prop it upright, for example against a stack of books or a jar. Then move it nearer or farther and watch the shadow side of the food. If the shadows still look heavy, bring the board closer. If the whole plate looks flat, move it back so that some shadow remains.
Step 5: Add black card when the shot needs depth
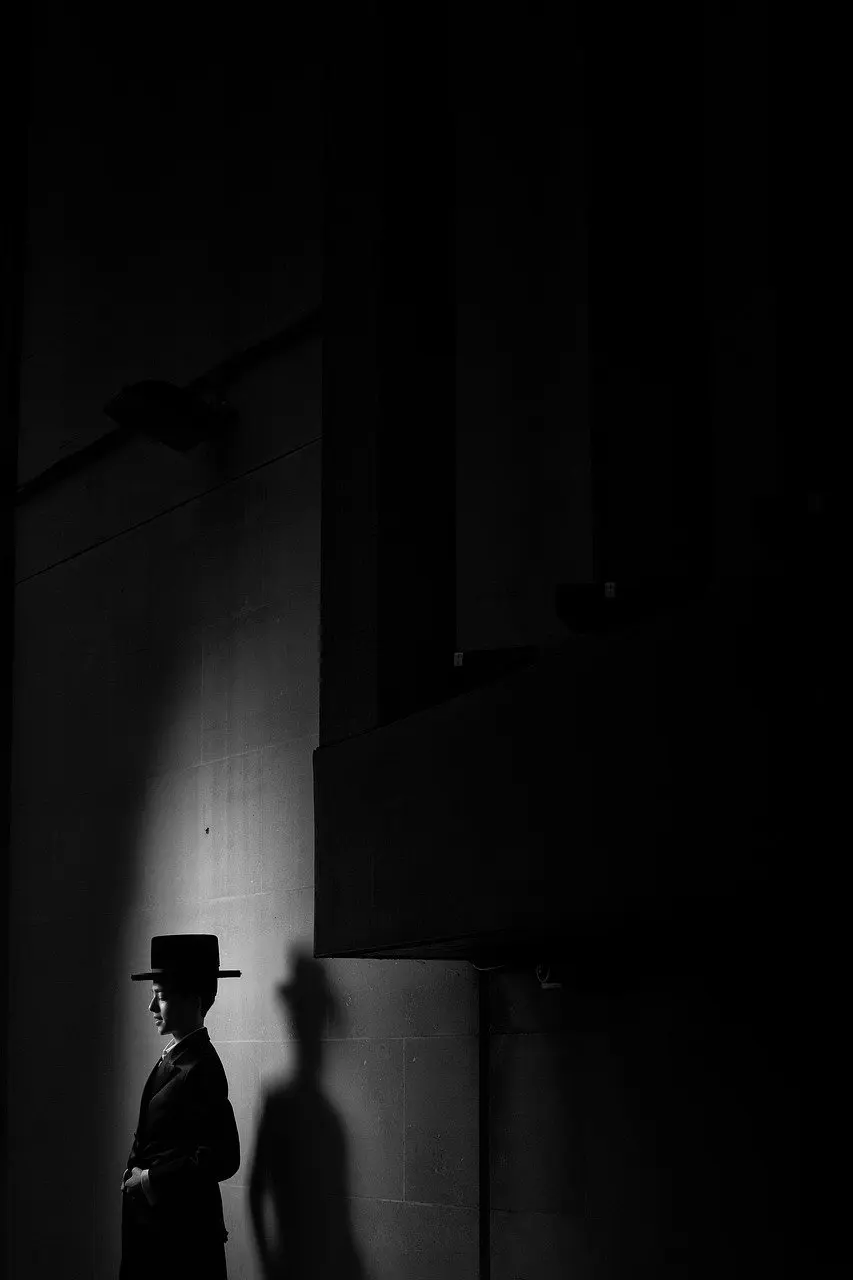
Use black card instead of a white reflector when the aim is contrast rather than softness. White bounces light back onto the food, while black absorbs extra light and creates depth. Placed on the shadow side, black card deepens shadows for a more dramatic effect.
It also helps when the room is too bright and light is arriving from places you do not want. In that case, black reflectors block the unwanted light. A black foam board can also tone down reflections from shiny cutlery or plates in the frame.
Step 6: Compare with the test frame
Take another frame and compare it with the first. The shadows should be softer, and the highlights on sauces, glazes or glass should no longer look harsh. If they still do, enlarge or add layers to the diffuser before touching the reflector. Once the light looks right, shift attention to the arrangement of the plate, as covered in these food photography composition tips.
White, silver, gold or black
White is the sensible default for a home reflector. It bounces light back onto the food and softens shadows, and a foam board or poster board costs very little. A white or silver choice is rarely the decision that makes or breaks a shot. Where the board sits and how much the light is diffused matter more.
Silver and gold surfaces appear on multi-surface reflectors. A 5-in-1 reflector of 150cm x 100cm, for example, offers white, silver, gold, black and translucent surfaces for different lighting effects. That kind of reflector suits someone who wants to switch between effects without making several boards. A single white board is enough for a first setup.
The translucent surface on a 5-in-1 reflector can also act as a diffuser, so one purchased item could cover both jobs. Home-made boards and fabric do the same work for far less money.
Common mistakes and when to leave modifiers out
- Using a reflector on hard light you want to keep. To keep shadows crisp, skip both the diffuser and the reflector. Hard light is a deliberate choice for some dishes.
- Diffusing a light that is already large and soft. A large light source already gives soft light. Add the reflector first and check whether the diffuser is needed at all.
- Ignoring stray light. A bright room can wash out the contrast you built. Black card on the unwanted side blocks it.
- Forgetting reflective props. Shiny cutlery and glassware pick up bright reflections. A diffuser softens them, and a black foam board tones them down.
Frequently asked questions
Do I always need both a diffuser and a reflector?
No. The diffuser softens the light and the reflector fills the shadows, and each can be used alone. For crisp, hard-edged shadows, skip both.
Why not simply rely on natural light?
Natural light is beautiful but not always reliable, because it changes with weather and time. A diffuser and reflector help keep the look of a window consistent between shots.
Does a diffuser help with shiny food or glassware?
Yes. A diffuser helps soften reflections, and a black foam board can tone down reflections from shiny cutlery.
Is a 5-in-1 reflector worth buying?
It suits anyone who wants white, silver, gold, black and translucent surfaces in one item. A white foam board and a sheer curtain cover the basic setup for much less.