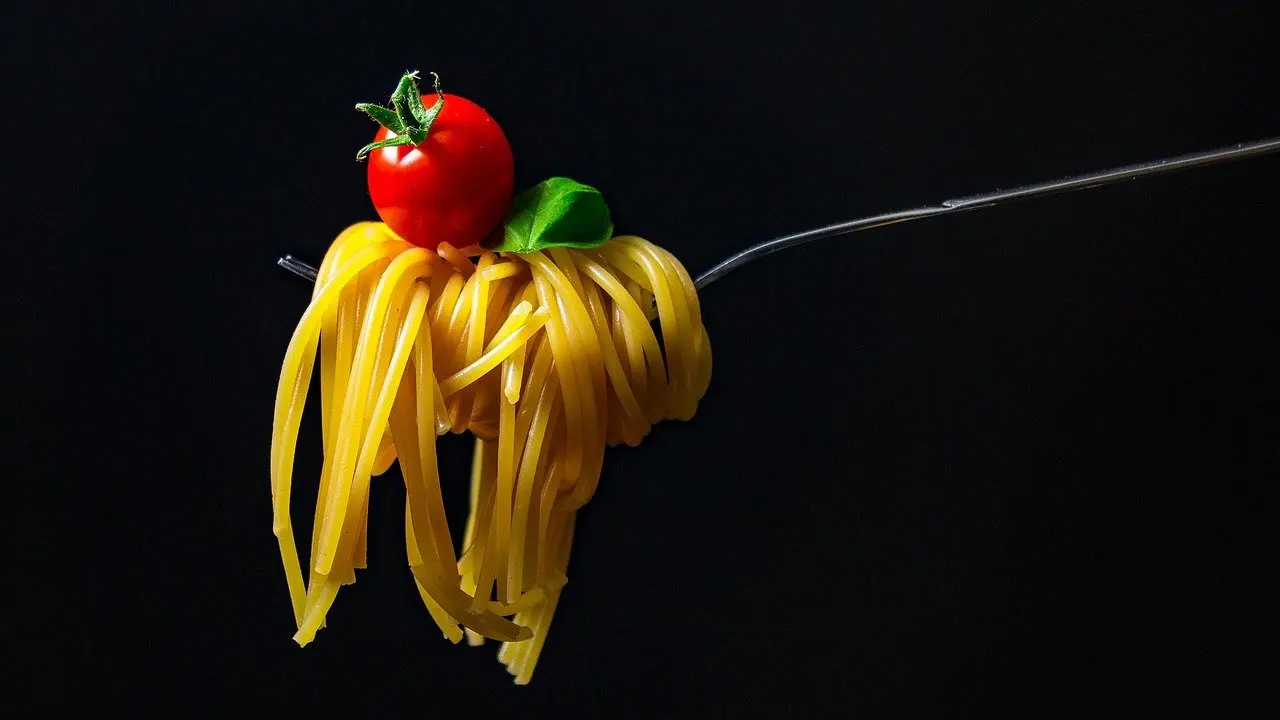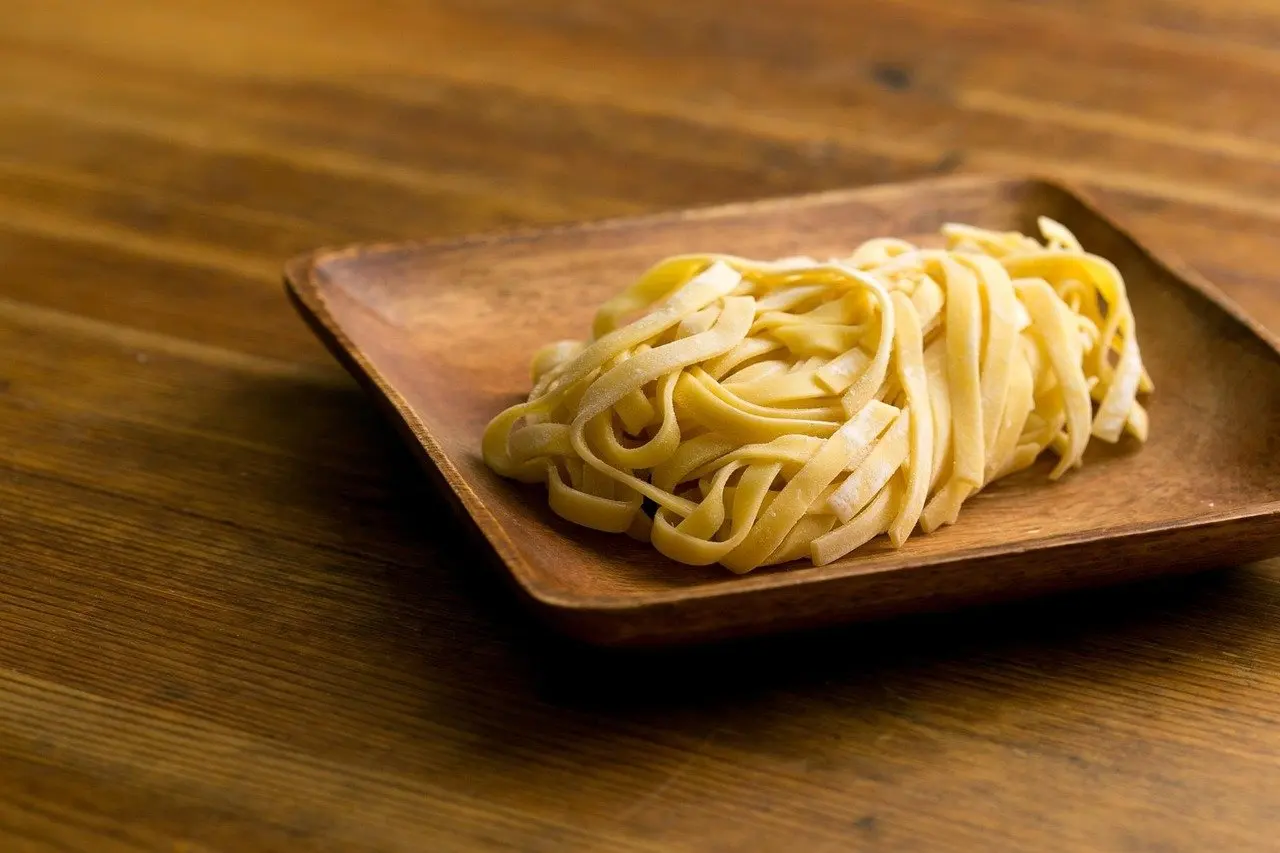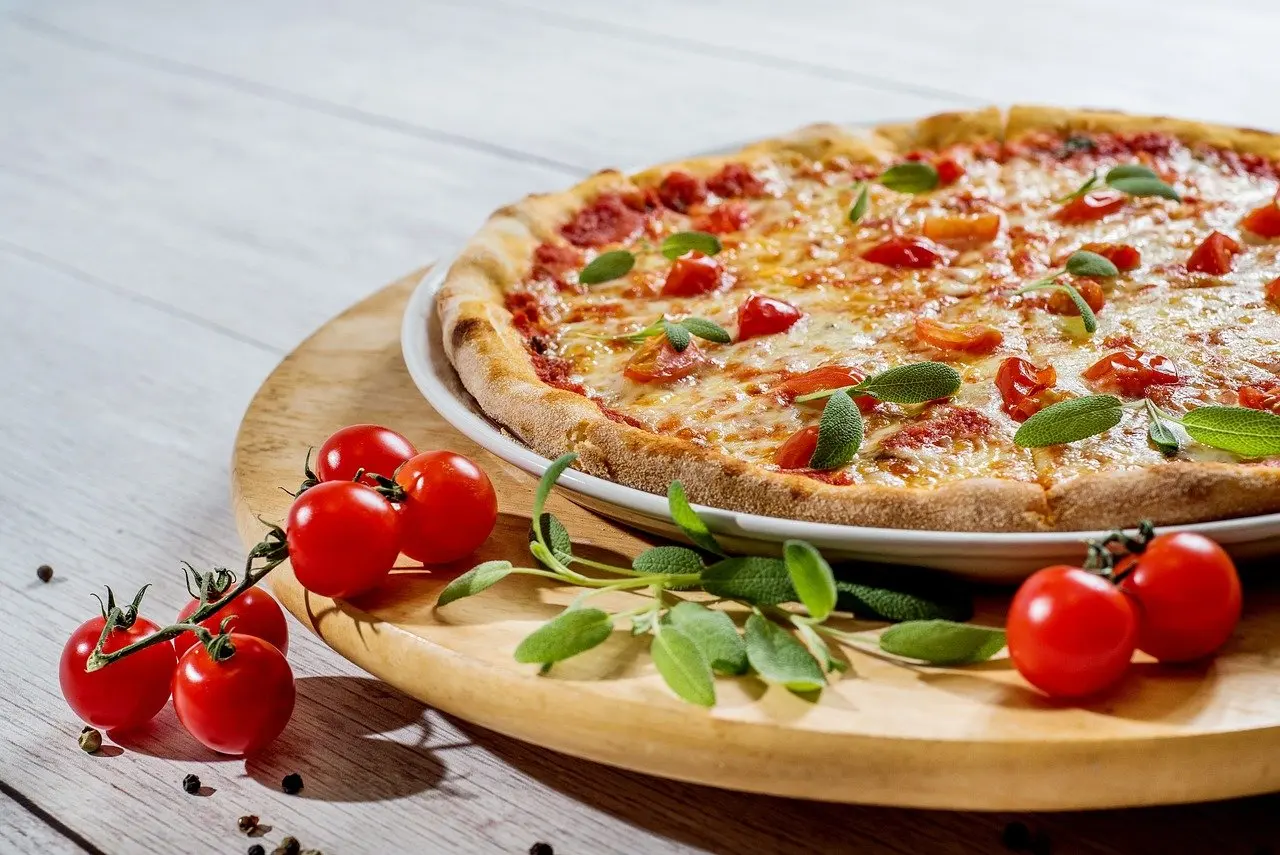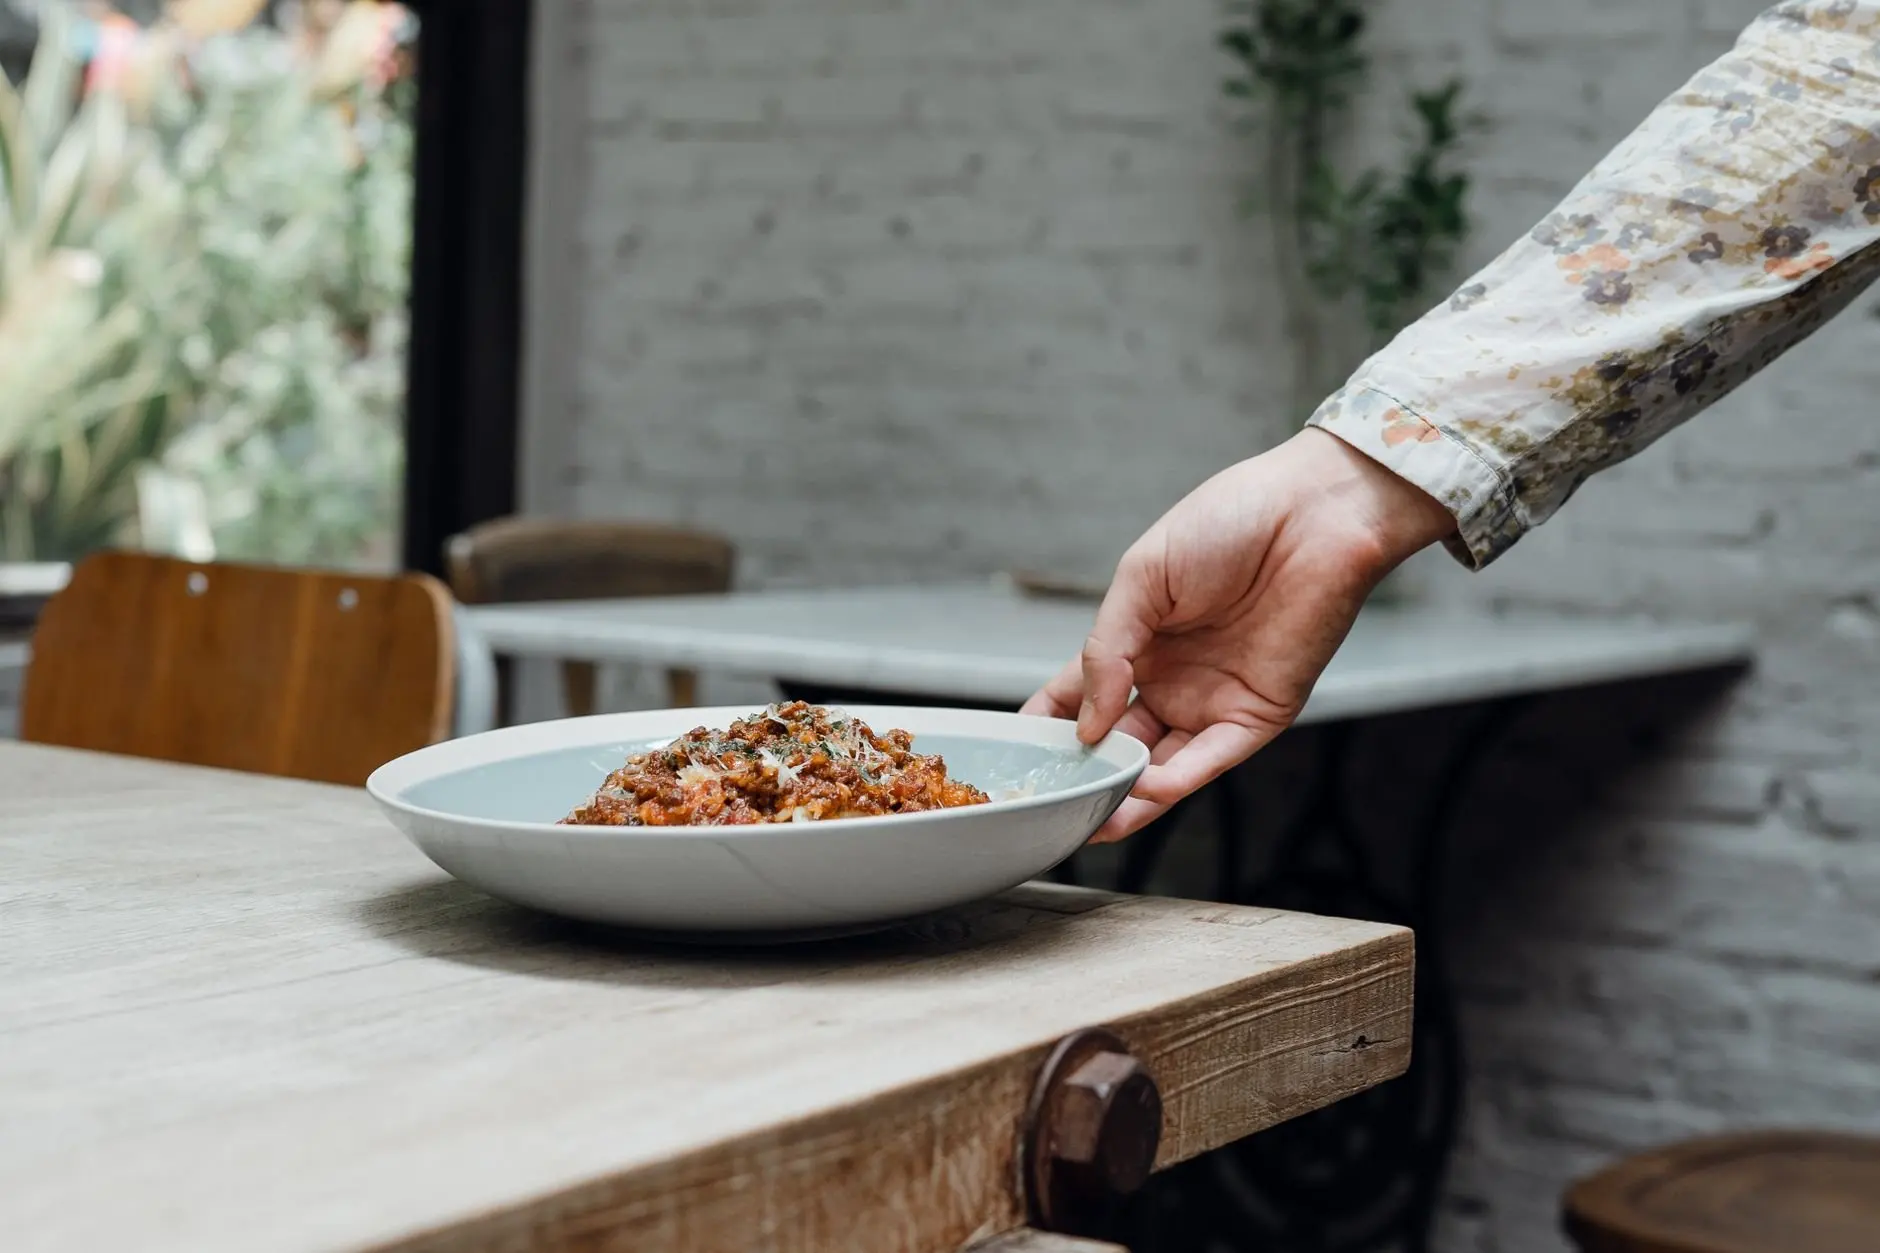
A bowl of pasta is plated and daylight is fading: food photography for beginners starts by moving the dish beside a window and switching off overhead lights. Add a steady camera and plain props, and the food does the rest.
This guide sorts the basics by what to fix first: light, gear, angle, settings, styling and editing. Italian home dishes such as pasta and layered desserts serve as the running examples, because they show every common problem in one plate.
Where to start
Most weak food photos suffer from one dominant problem. Fix that first rather than reading in order, then come back for the rest.
- Flat, grey or oddly tinted pictures: begin with window light and room lamps, then move to the editing section.
- No idea what to buy: read the gear section, which shows how little is needed to begin.
- Dish looks messy or lifeless: choose an angle first, then work through styling and props.
- Blurry or too-sharp backgrounds: go straight to the aperture and shutter speed section.
The sections below follow the same order a shoot follows: light, equipment, angle, camera settings, styling and finishing.
Window light for food photography
Natural light is the most forgiving starting point for a home cook, and a window supplies it for free. Great Big Photography World describes a window as the most forgiving teacher for beginners, because it gives one clear direction of light to learn from.
Nikon’s guide with food photographer Donna Crous adds the rule that matters most: food is almost always shot with directional light from the side or the back. The same guide calls soft filtered light, from a diffuser or an overcast sky, ideal. For a fuller walk-through of daylight, see natural light food photography.
Placing the plate
Put the table beside the window so the light crosses the dish from the side. Side light suits a beginner best because it is the simplest set-up to read. Back light comes later, once side light feels routine.
Great Big Photography World advises sticking to a single light source from the side to avoid mixed indoor lighting. It also says to keep overhead lights off to avoid strange colour casts. That means the kitchen ceiling lamp goes off even when the room looks dim, because the camera records the mixture of light sources, not the one the eye prefers.
Softening and filling
Direct sun on a plate gives hard edges and bright patches. A sheer curtain or a pillowcase over the glass works as a diffuser and softens harsh sunlight, according to Great Big Photography World. This is the quickest fix on a bright day, and it costs nothing.
On a dark day the shadow side of the plate can sink. Nikon’s guide suggests positioning a reflective shield opposite the food, and says tinfoil or a piece of white card works perfectly. A DIY reflector for food photography needs nothing more than that card or foil, and it is worth trying before buying anything.
A repeatable window routine
- Clear a table beside the window and switch off every lamp in the room.
- Place the dish so the window sits at its side.
- Hang a sheer curtain or pillowcase over the glass if the sun is harsh.
- Set white card or tinfoil on the far side of the plate if the shadows look heavy.
- Take a test frame and adjust the card’s position until the shadow side reads clearly.
Once the light is dependable, the next question is how much equipment the rest of the set-up needs.
Basic gear for food photography at home
The basic kit is short. Fstoppers puts it plainly: all you really need is a camera, a tripod and a window. Everything else adds control rather than making the first photographs possible.
- Camera: any camera that gives control over aperture and shutter speed is enough to follow the settings below.
- Tripod: it holds the framing steady and allows slower shutter speeds, which suits window light. For choosing one, see the best tripod for food photography.
- Window: the light source, covered above, with a curtain or card as the optional softener or fill.
- Surface: Great Big Photography World lists portable surfaces such as cutting boards, tiles, linens or painted boards. A board or tile is enough to start, and DIY food photography backdrops cover home-made options in more depth.
- Lens: Nikon names the NIKKOR Z 50mm f/1.8 S as its best starting lens for food.
That lens belongs to Nikon’s own system. Owners of other cameras can treat it as a reference point and compare options in the guide to the best lens for food photography.
A sensible buying order follows from this. Spend first on the tripod, since steady framing improves every later decision. Treat lenses and extra lights as later upgrades. With the kit settled, the next decision is where to point the camera.
Camera angles for pasta and desserts
Pasta usually works best from above, while desserts split between a seated-at-the-table view and, for tall layered ones, a low straight-on view. The choice depends on whether the dish’s appeal is spread across the plate or stacked upward.
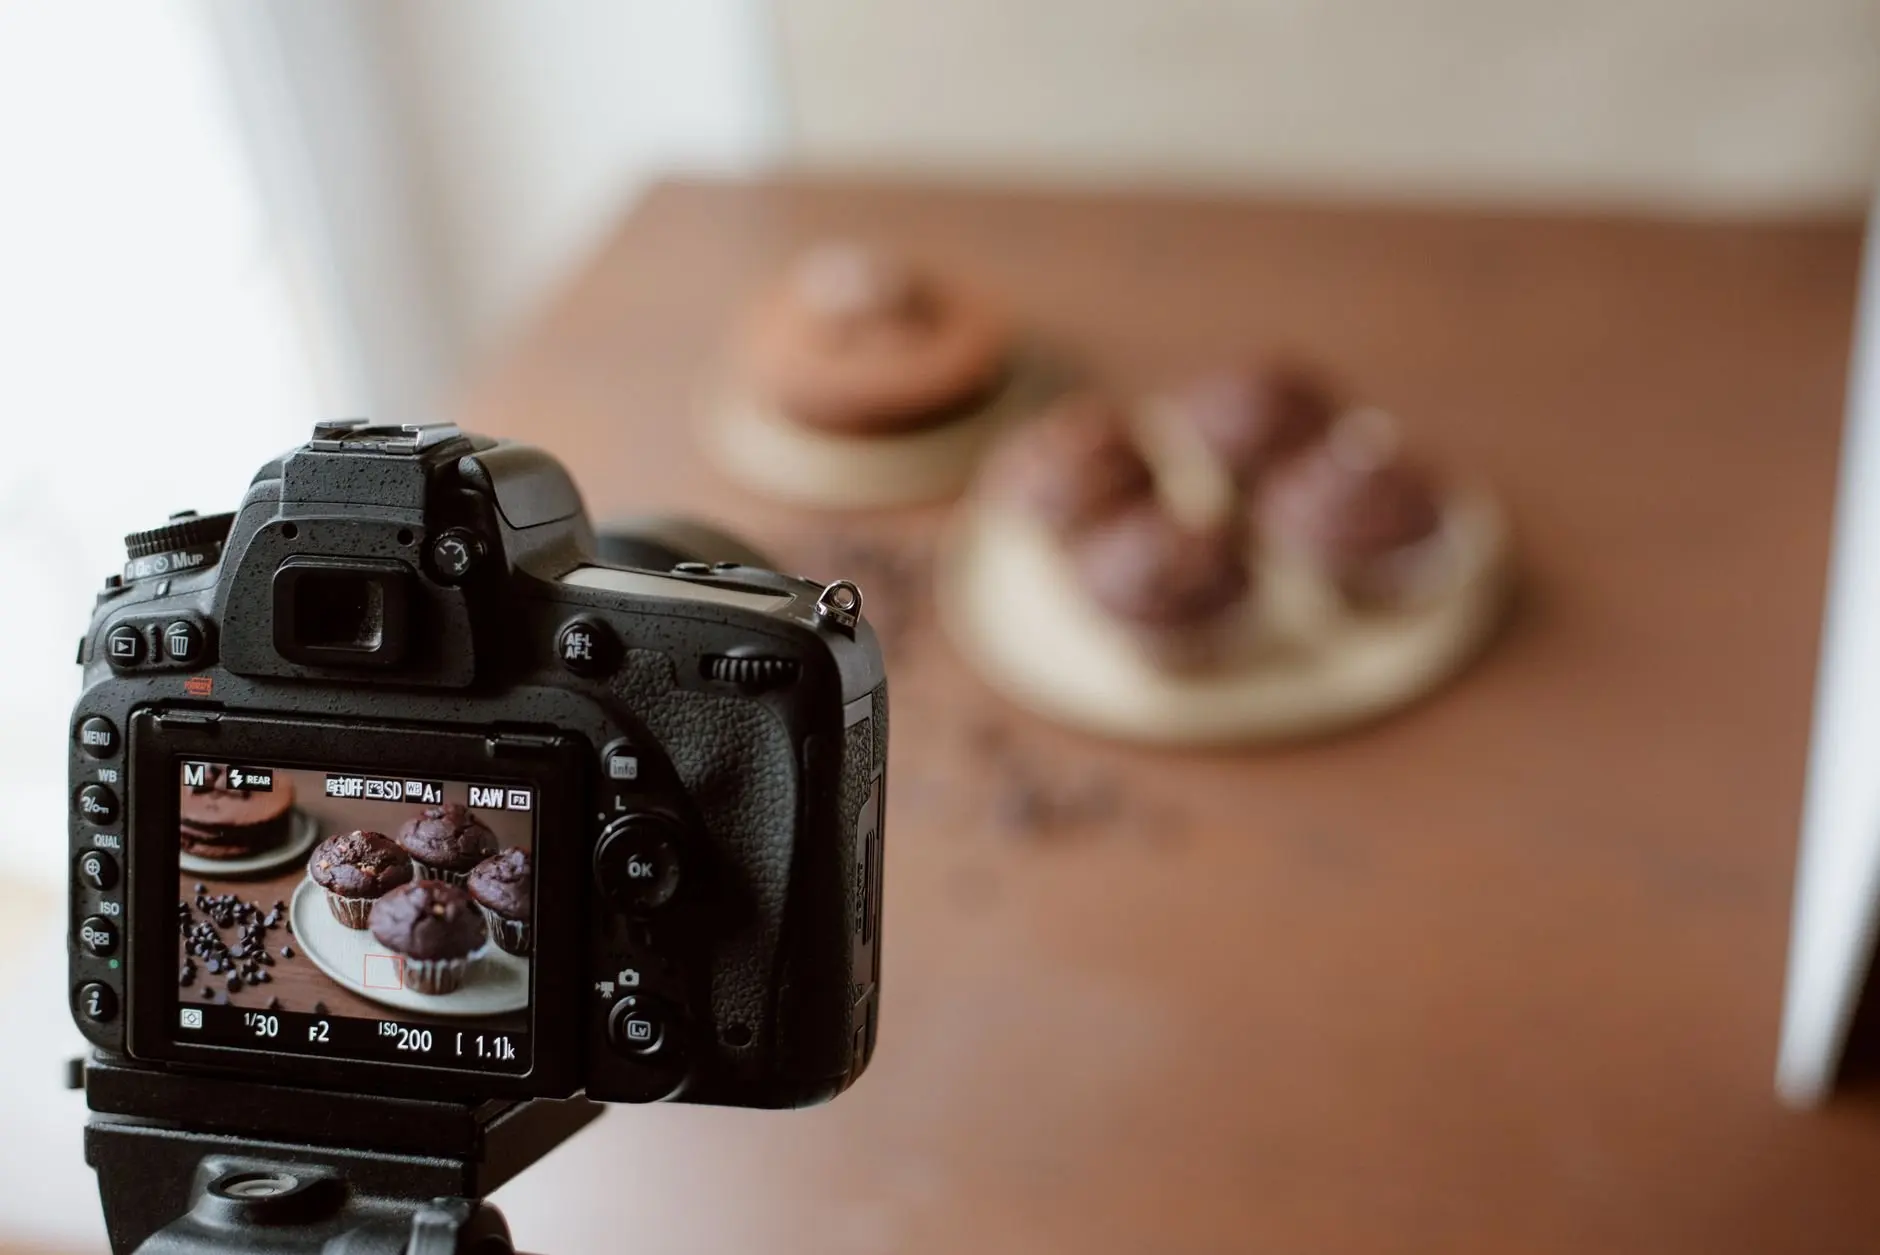
Great Big Photography World recommends overhead shots for dishes full of ingredients or visual detail like pastas. The 45-degree angle, by contrast, is natural and familiar, like being about to take a bite. For layers, the same source says straight-on highlights height and layers, suiting burgers, cakes, sandwiches and tall drinks.
Nikon’s guide pushes the other way and advises never shooting food straight on, because the result lacks depth. The two views reconcile as a judgement: treat the 45-degree angle as the default, and use straight-on only when height is the whole point, such as a layered cake or dessert glass. When it is used, Nikon’s example keeps a hero element in focus.
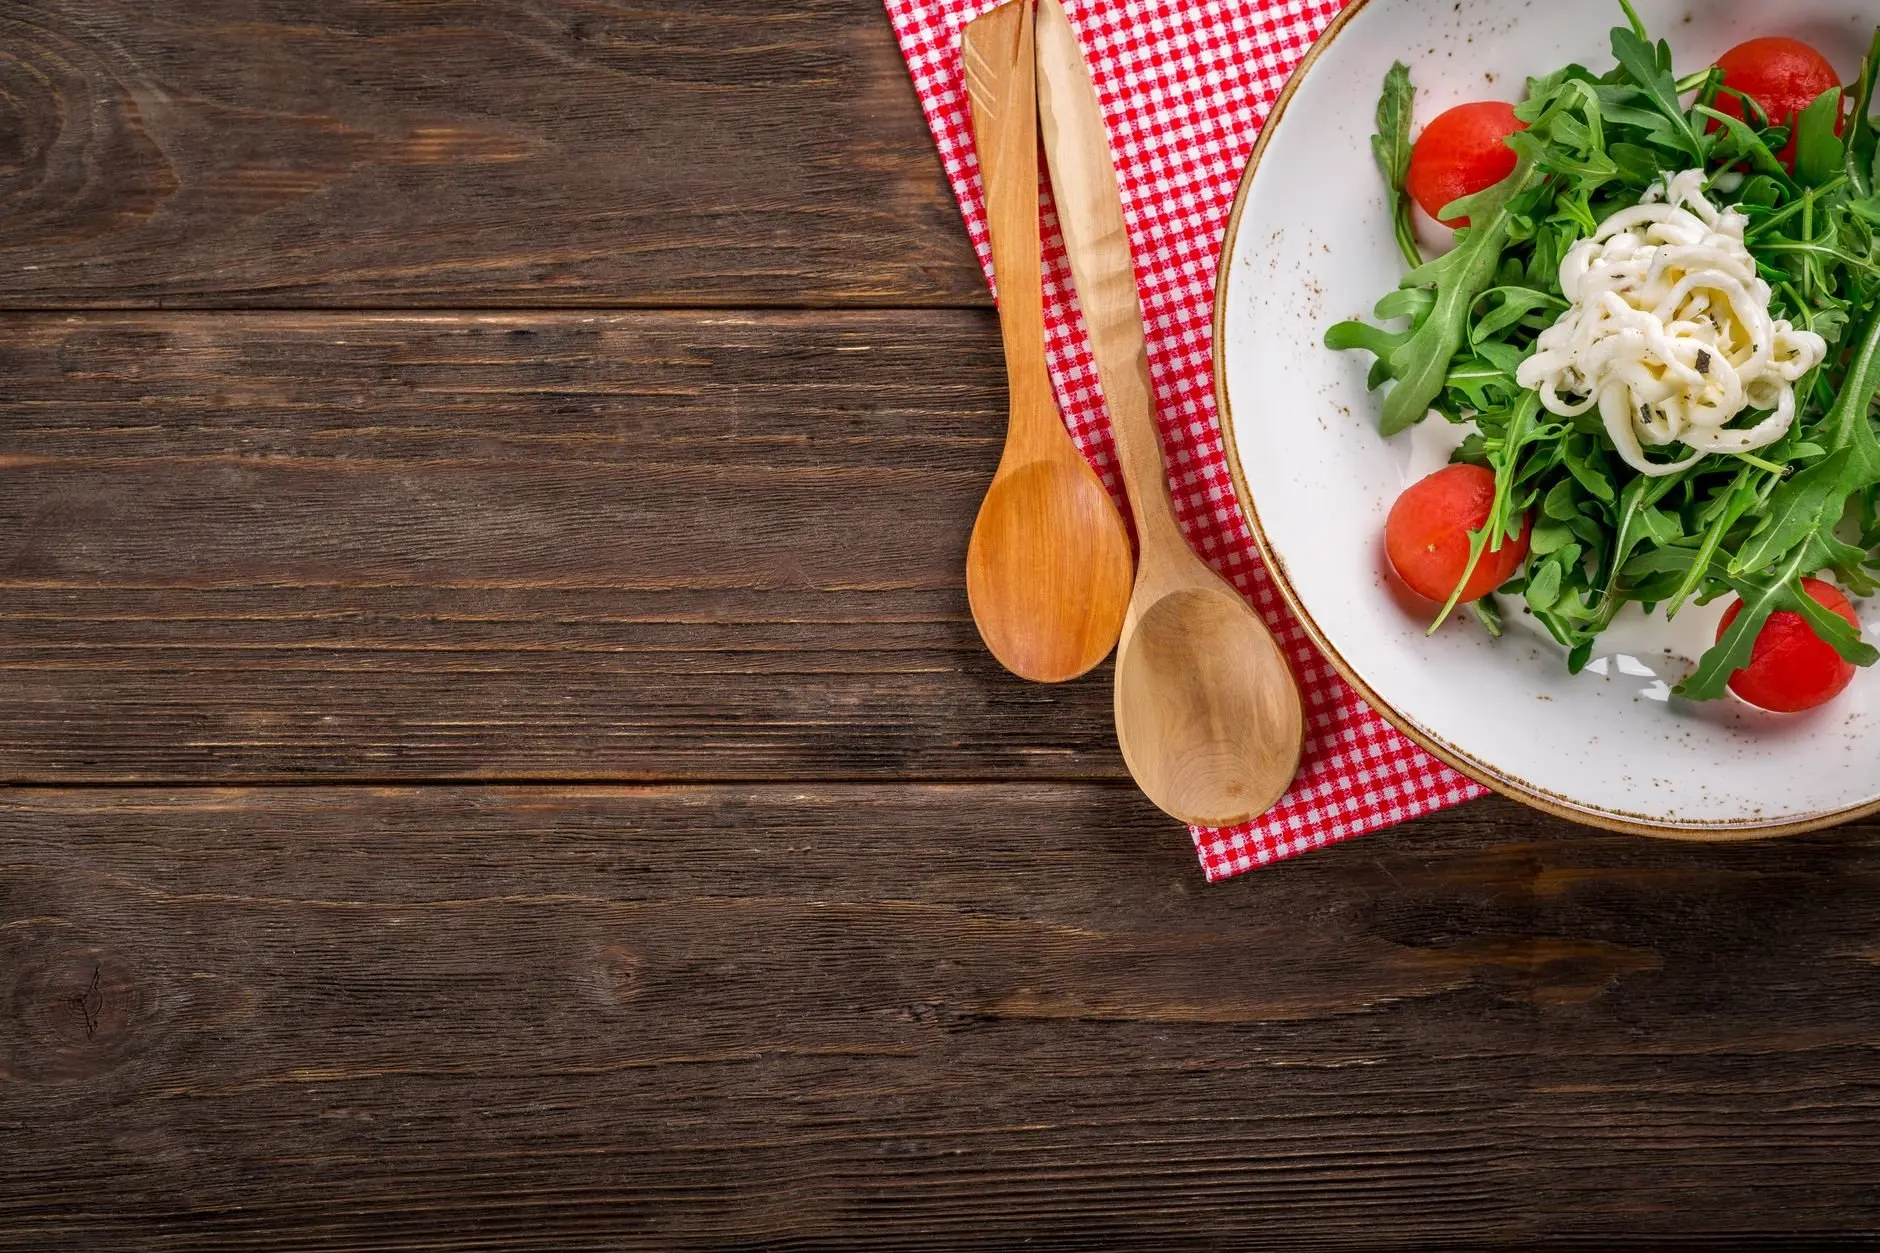
Angle comparison
| Angle | Suits | Condition to remember | Planning use |
|---|---|---|---|
| Overhead | Pasta and other dishes full of ingredients or visual detail | More of the frame must be sharp, so a smaller aperture starting around f/5.6 is ideal | First choice for a pasta plate; place props to fill the flat frame |
| 45-degree | Everyday plated dishes viewed as if seated at the table | Feels natural and familiar, like about to take a bite | Safe default when unsure which angle suits a dish |
| Straight-on | Tall, layered foods such as cakes, burgers, sandwiches and tall drinks | Nikon warns it lacks depth; its example uses around f/3.5 with a hero element | Reserve for dishes whose height is the subject |
Figures and angle advice here come from Great Big Photography World and Nikon’s guide with Donna Crous.
Deeper coverage of viewpoint choices sits in the guide to food photography angles, and arranging what fills the frame is the subject of food photography composition tips. Whichever angle is chosen, the camera settings decide how much of it looks sharp.
Aperture, shutter speed and white balance
Aperture has no fixed rule for food, and the figures below are starting points. For a full settings reference, see the best camera settings for food photography.
Aperture choices
Nikon’s guide states that there is no set rule for aperture, because the choice depends on the message of the picture. Its straight-on example uses an f-stop of around f/3.5 to keep one hero element sharp. For overhead and flat-lay shots, which need more of the frame sharp, it suggests a smaller aperture starting around f/5.6.
Great Big Photography World explains the visual effect: a shallow depth of field creates soft background blur that pulls attention toward the food. A tutorial on Fstoppers shows a middle path, an example tripod frame at f/4.5.
Shutter speed and steadiness
Window light is gentler than flash, so shutter speeds can fall. Nikon recommends keeping the shutter speed at 1/125 s or higher when shooting handheld. A tripod removes that limit.
The decision is simple. If the camera is handheld in a dim room, the light forces a compromise, and the tripod is the way out. If the camera is on a tripod, the shutter speed can drop and ISO can stay low, so long as nothing in the scene moves.
White balance for daylight
Nikon’s guide advises leaving the camera on auto white balance and shooting in RAW, which leaves room to correct colour later. That advice suits window light well, because the colour of daylight shifts with the sky, and a RAW file can be corrected afterwards in editing. Combined with the lamps-off rule from the light section, it removes the main causes of tinted food.
Styling a plate with cheap props
Styling makes the dish easy to read in one glance, using small plates, plain surfaces and a few supporting items. The goal is to keep attention on the food. For a longer treatment, see food styling tips for beginners.
Surfaces and props
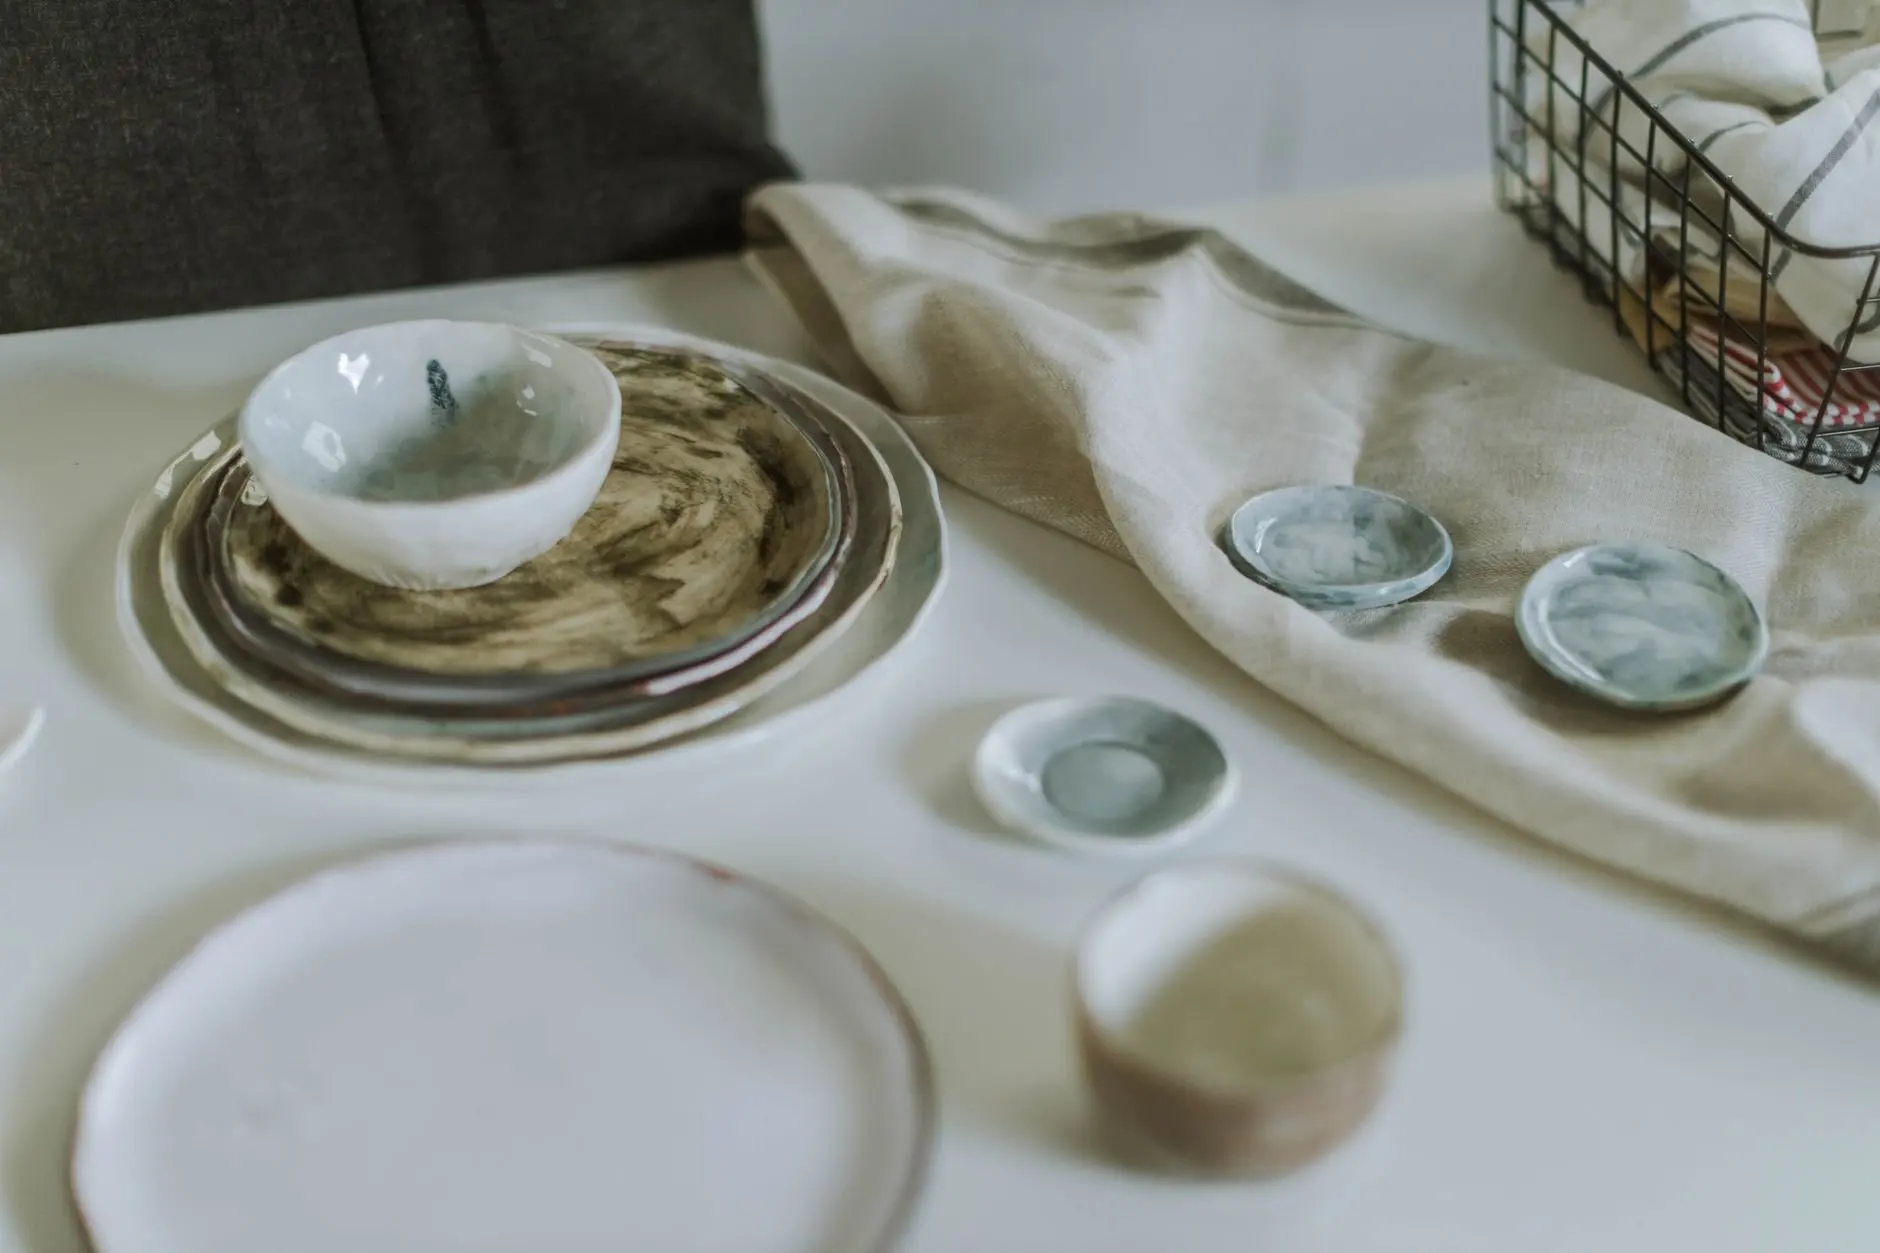
Fstoppers advises finding a clean, plain surface on which to shoot. Nikon’s guide agrees in spirit: neutral props make the food really stand out. Linen napkins, plain ceramic plates and a wooden board all fit that brief, and they avoid competing patterns around a bowl of pasta.
The same guide warns to be aware of reflections, particularly with shiny cutlery. Old or matte cutlery is a quieter choice than polished steel near a bright window. Check the frame for glints before taking the final shot.
Plating and garnish
Nikon suggests plating up on smaller plates and filling the scene with pinch bowls of fresh herbs, spices or fruit. Smaller plates make a modest serving look generous, and the pinch bowls add colour that belongs to the dish. Both ideas suit Italian home cooking, where basil, grated cheese and fruit are already in the kitchen.
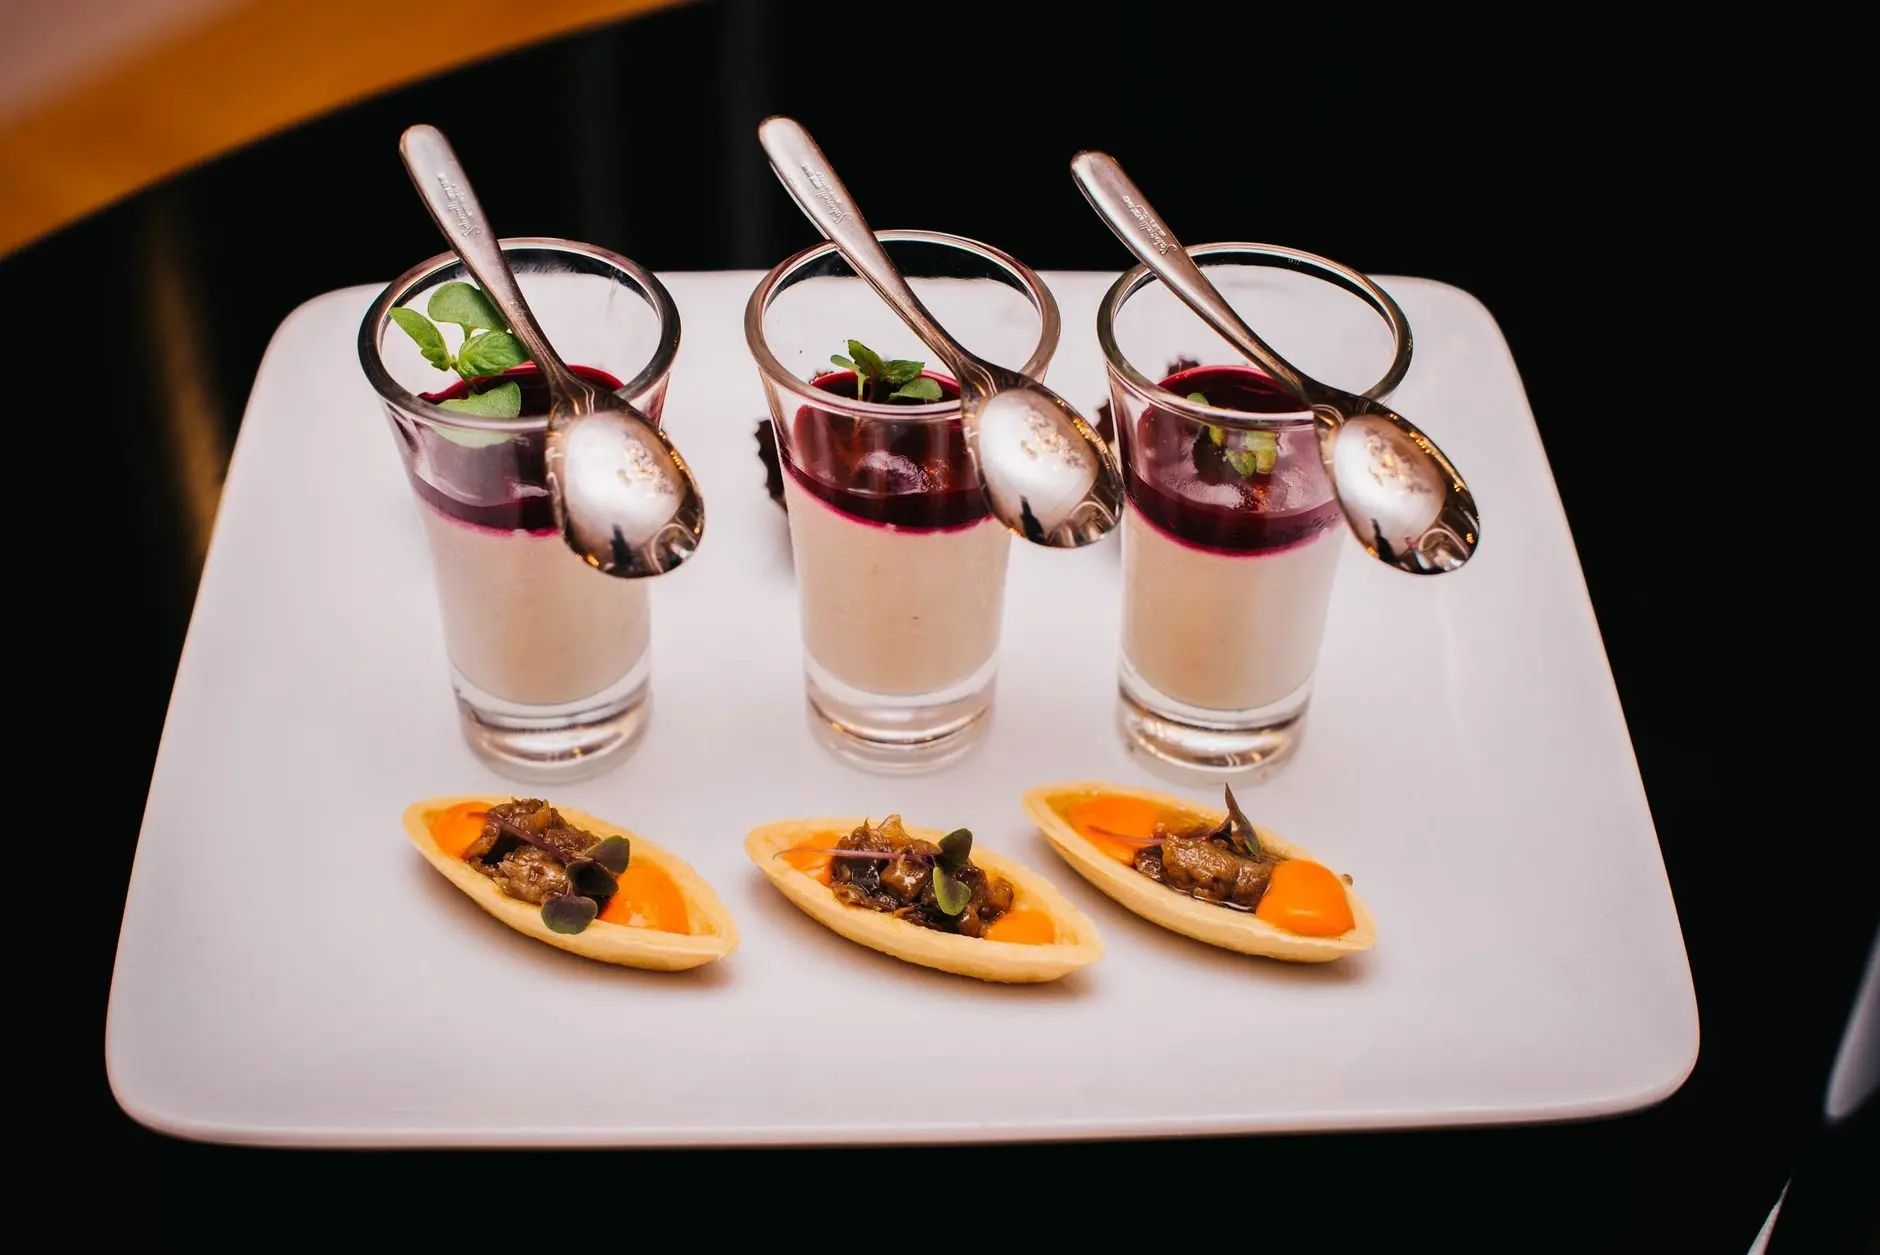
Fstoppers recommends layering the scene from front to back so the eye travels through the frame. In practice, that means a garnish bowl in the foreground, the plate in the middle and a napkin or glass behind it. Tweezers help place small garnishes without disturbing the plate.
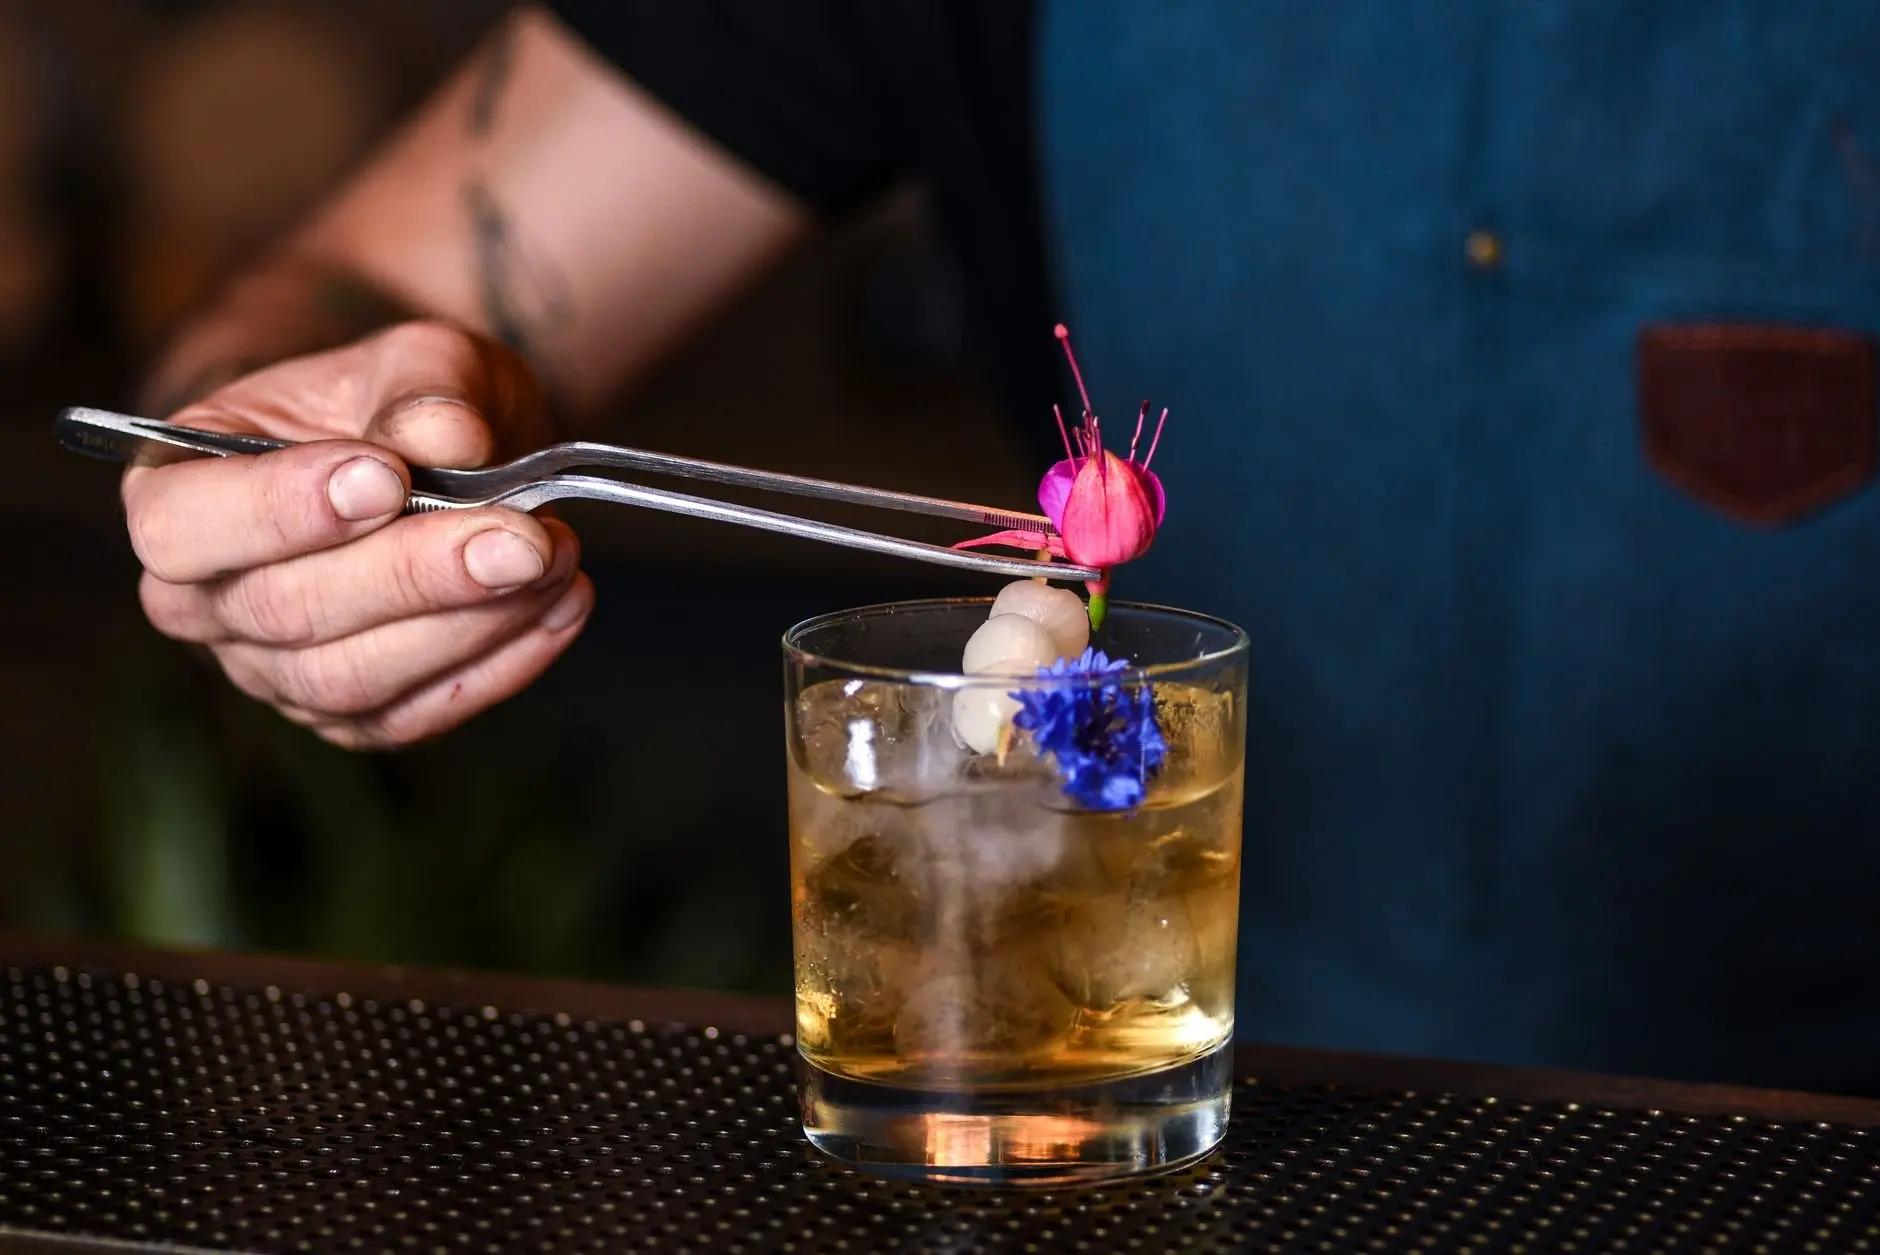
Backgrounds matter as much as plates, since a board or painted card behind the dish sets the mood of the frame. If the surface or wall behind the plate looks wrong, look at DIY food photography backdrops before buying anything new.
Before and after: a pasta plate by the window
A weak set-up and a corrected one differ in a handful of decisions, each drawn from the guidance above. The comparison below applies those decisions to one plate of pasta.
The weak set-up
- Light: ceiling lamps on, with window light mixed in, which risks colour casts.
- Surface: a cluttered table with patterned cloth competing with the food.
- Props: shiny cutlery beside the bowl, reflecting the window.
- Angle: shot straight on, so the pasta lacks depth.
The corrected set-up
- Light: lamps off, window at the side of the dish, a curtain softening harsh sun and white card opposite on a dark day.
- Surface: a clean, plain board or tile.
- Props: a linen napkin, matte or old cutlery and a pinch bowl of fresh herbs.
- Angle: overhead, with the aperture starting around f/5.6 so the whole plate stays sharp.
Nothing in the corrected list costs more than a sheet of card and a few household items. This is the practical case for starting with light and props before buying new equipment.
Next steps by dish
Pasta, desserts, bread and soup each present different problems on top of this foundation. Detailed walk-throughs cover how to photograph pasta, dessert photography tips, how to photograph bread and how to photograph soup.
When a whole recipe post is the goal, a food photography shot list helps plan frames before the cooking starts.
Editing so colours look natural
Natural-looking colour starts at capture and finishes in editing. The camera setup does most of the work: lamps off, auto white balance and RAW files, as Nikon’s guide advises. Editing then corrects what remains.
Keep the edit light. Compare the screen with the real dish and stop when the pasta sauce, herbs and plate look as they did on the table. Heavy adjustments tend to push colours past what the food looked like. A step-by-step workflow is covered in how to edit food photos.

If a picture still looks tinted after editing, the cause is most likely at capture, usually mixed light from lamps left on. Re-shoot with the room dark except for the window rather than trying to rescue the file.
Frequently asked questions
| Question | Answer |
|---|---|
| Does the window have to face a particular direction? | Fstoppers names a north-facing window as a free source of soft light. Any window can work if the light is softened and directional. |
| Is a proper studio table necessary? | No. Great Big Photography World says even a fold-up card table works as the shooting surface. |
| How can camera shake be avoided on a slow shutter speed? | Fstoppers suggests using a remote release or a self-timer, so that pressing the shutter does not move the camera. |
| Does the number of items on the plate matter? | Nikon’s guide says odd numbers create better composition, such as 1, 3 or 5 items. |