The most budget-friendly diy food photography backdrops are painted boards and foam board covered in adhesive film. Seal them with a matte finish to control glare. Tiles suit a hard-surface look, and ready-made backdrops cost more but need no building.
This list works alongside the wider food photography for beginners guide, which covers the rest of a home setup. The options below are not ranked. Pick the build that matches your main priority: budget, low glare, durability or storage.
How to choose a backdrop material
A backdrop earns its place by staying out of the way of the food, so the choice comes down to four practical criteria.
- Budget. Foam board and a painted board are the low-cost builds. Ready-made backdrops are a purchase rather than a project, and the comparison table later shows the figures.
- Glare. Finish matters as much as colour. Matte varnish on paint and matte clear film on patterned surfaces are the finishes the tutorials rely on.
- Durability. A thin paint coat chips under scraping props, a ready-made vinyl-style backdrop is sold as wipe-clean, and a metal sheet needs taped edges.
- Size and storage. Small boards are easy to put away. Large boards give more room for wide shots but need a place to stand.
Painted plywood or MDF board
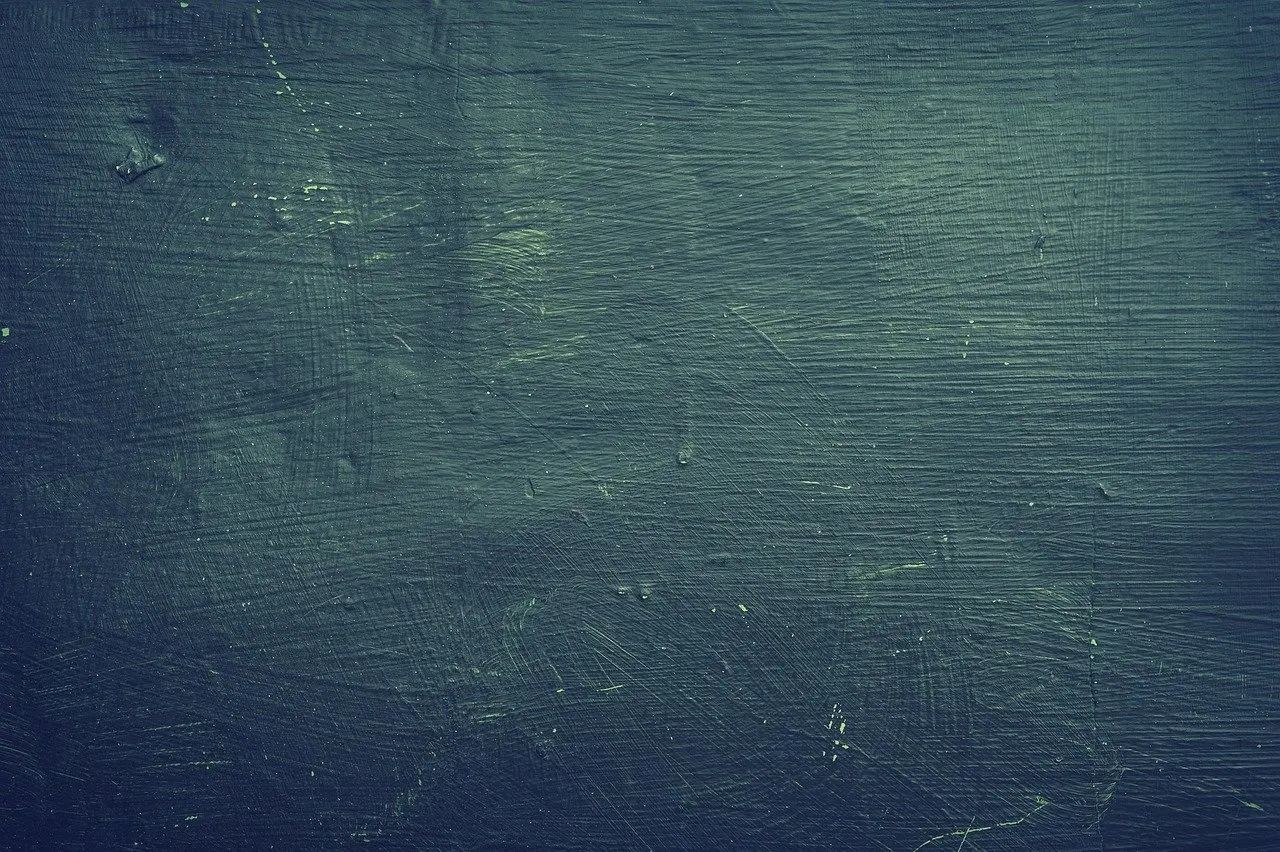
A painted wooden board is the most flexible DIY surface because the colour and texture are entirely yours. The Foodscape tutorial used a 2 ft x 3 ft MDF board with a sanded surface on one side, and plywood is a similar wood-based board that suits the same method. It suits anyone who wants a moody, hand-finished look and does not mind a drying wait.
Build steps
- Choose a board with a smooth face, or smooth one side with sandpaper, so the paint sits evenly.
- Paint the base colour across the whole board.
- Dip a medium foam roller into a second colour and roll it over the board in a criss-cross motion, letting the base colour show through, as The Foodscape describes.
- Dilute matte varnish with water and brush a coat across the surface with a wide brush.
Limits to plan around
The same tutorial warns that a thin coat of paint comes off in places when something scrapes against it, so slide props rather than dragging them. Heavy texture also causes trouble: varnish collects in the crevices of textured paint and leaves an unflattering white film. If you plan to varnish, keep the texture light.
Ceramic and peel-and-stick tiles
Tiles give a hard-surface, kitchen-counter look that paint struggles to imitate. Loose ceramic tiles can be laid out directly as a surface, while peel-and-stick tiles are mounted onto a board and can be stored like any other panel. They suit shoots where a patterned or glazed look is the point of the picture.
According to Two Forks and a Passport, square peel-and-stick tiles follow the same steps as adhesive film. For tiles with uneven sides, which usually have an overlap area, trim off the excess so the edges interlock. The same tutorial notes that Dollar Tree sells foil backsplash, shelf liner, contact paper and tiles, which makes a budget store a reasonable first stop for experimenting.
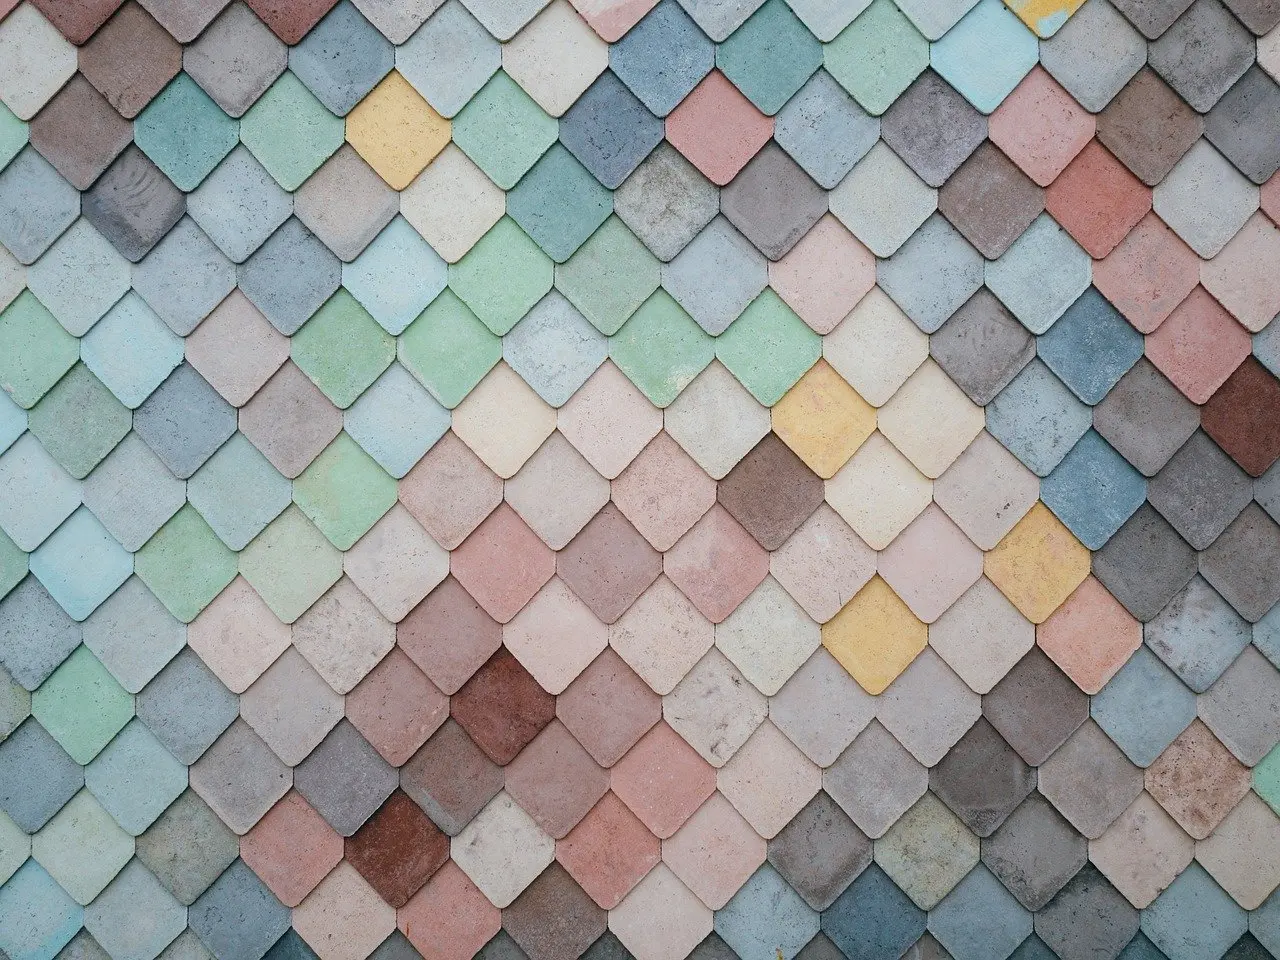
Tiles are less forgiving than paint when the pattern is busy. Choose muted or single-colour tiles when the dish itself is colourful, and keep strongly patterned ones for simple, neutral food.
Marble-look contact paper on foam board
Marble-look contact paper turns a plain board into a believable stone surface for little effort. It suits cooks who want a clean, bright counter look without the weight or cost of real stone.
- Choose adhesive-backed decorative film with a pattern on the front and adhesive on the back.
- Cut a foam board to the size of the shot, using a sharp knife.
- Apply the film to the board, following the same method used for peel-and-stick tiles.
- Trim any overhang at the edges.
Two Forks and a Passport also mentions clear adhesive film, which is usually available in both matte and glossy finishes. Check the finish before buying, because a glossy surface is the riskier choice under a window or lamp.
Foam board backdrops
Foam board is the lightest-touch option and the cheapest starting point. It suits small, close-up shots, people with little storage space and anyone testing a look before committing to a larger build. The main limitation is cutting: the Two Forks and a Passport tutorial calls foam boards notoriously hard to cut, so use a sharp knife or scissors.
Sizing can stay modest. One project in that tutorial used a 20 x 20 in board plus two 10 x 10 in boards, which gives a base surface and two smaller panels that can form a corner or a side wall. Foam board also works as the base for the film and tile builds above, so one purchase can feed several looks.
Galvanized steel for a rustic metal look
A galvanized steel sheet gives a weathered, industrial surface that wood and film do not imitate well. It suits dark, rustic dishes such as bread, roasted vegetables and stews. The tutorial on Picture Correct notes that 3 ft x 4 ft sheets are sold and can be cut in half to make two backdrops.
Metal needs more care than board. Edge the sheet with duct tape, electrical tape or painter’s tape to prevent cuts. The rustic finish is then painted on and sprayed with a thick coating of matte spray-on varnish. Drying depends on the amount of paint and the number of layers used.
Ready-made backdrops compared with DIY
Ready-made backdrops suit people who value time over savings. Club Backdrops describes its food backdrops as waterproof and reusable, with a wipe-clean routine after every shoot. Single backdrops are listed from $36.00 USD, and the Heirloom Era Bundle is listed at a regular $180.00 USD with a sale price from $108.00 USD. The retailer also advertises savings of up to 20% when ordering multiple backdrops.
Compared with a painted board or foam board, the premium buys durability and consistency. Building your own is the better route when you want a specific colour or have time to wait for paint to dry.
Comparing the DIY options
The table sets the main builds side by side on finish, durability and cost.
| Option | Finish and glare handling | Durability and handling | Cost marker | Planning use |
|---|---|---|---|---|
| Painted board (MDF or plywood) | Diluted matte varnish brushed over the paint | Thin coat chips when props scrape it; heavy texture can leave a white varnish film | Under USD 20 per background | Best when you want a custom colour and can wait for it to dry |
| Peel-and-stick tiles on a board | Depends on the tile surface | Edges with overlap areas need trimming so they interlock | Tile price varies by product | Suits a hard-surface or kitchen-counter look |
| Marble-look film on foam board | Clear film comes in matte and glossy; check before buying | Foam board is hard to cut, so use a sharp knife | About 7 USD for a basic backdrop, depending on materials | Quick, bright stone look for small shots |
| Foam board alone | Plain surface, no coating needed | Easy to cut down to small panels, but the cutting itself is tough | About 7 USD for a basic backdrop, depending on materials | Cheapest way to test a look before committing |
The cost and handling figures come from The Foodscape and Two Forks and a Passport.
Sizing and storing backdrops
Size the backdrop to the widest shot you plan to take, then stop. The tutorials show a range: a 2 ft x 3 ft MDF board for a painted surface, a 20 x 20 in foam board for a compact base, and a 3 ft x 4 ft metal sheet cut in half. Smaller boards cover overhead shots of a single plate. Larger ones suit a flat-lay with props or a scene with a back wall.
Storage follows from the size you pick. Smaller foam board panels are the easiest to put away in a small home, and the cut-in-half steel sheet halves the footprint of a larger backdrop. Because a thin painted coat chips when something scrapes it, keep painted boards from rubbing against each other when stored, and keep tools and props away from the painted face.
Glare and finish
Matte is the finish to choose whenever glare is the worry. Both painted-board tutorials end with a matte step: The Foodscape brushes on diluted matte varnish, and Picture Correct sprays a thick coating of matte varnish over its metal backdrop. For film-covered boards, take the matte version of clear adhesive film.
Finish interacts with light direction, so test a backdrop at the window you will actually use. The natural light food photography guide explains how window light behaves on different surfaces.
Frequently asked questions
How do I make a food photography backdrop cheaply?
Foam board is the cheapest route: Two Forks and a Passport says a solid backdrop can be made for about 7 USD, depending on materials. A painted board is also low cost, with The Foodscape putting its painted backgrounds at under USD 20 each.
How long does a textured painted backdrop take to dry?
Heavily textured paint can take up to a week to dry completely, according to The Foodscape. For a metal backdrop, Picture Correct says drying depends on the amount of paint and the number of layers used.
Does marble contact paper look realistic in photos?
It can, depending on the pattern. The film needs a pattern on the front and adhesive on the back, so the realism comes from how convincing the printed marble is. Pick a pattern with clear markings and a matte finish.