Quick answer: For food photography angles, shoot flat, ingredient-rich dishes such as pasta from overhead, tall or layered dishes straight-on, and dishes seen as a diner sees them at a 45-degree angle. Shape decides.
This guide sits within food photography for beginners and turns the three standard angles into a dish-by-dish chooser for Italian plates. Read the definitions, check the table, then use the troubleshooting section when a shot looks wrong.
The three angles and what each one shows
Photography teaching sites agree that three angles cover nearly every dish: overhead (also called a flat lay), 45-degree and straight-on. Each one changes which part of the food the viewer reads first. That makes the dish, not habit, the best starting point.
Overhead shot and flat lay
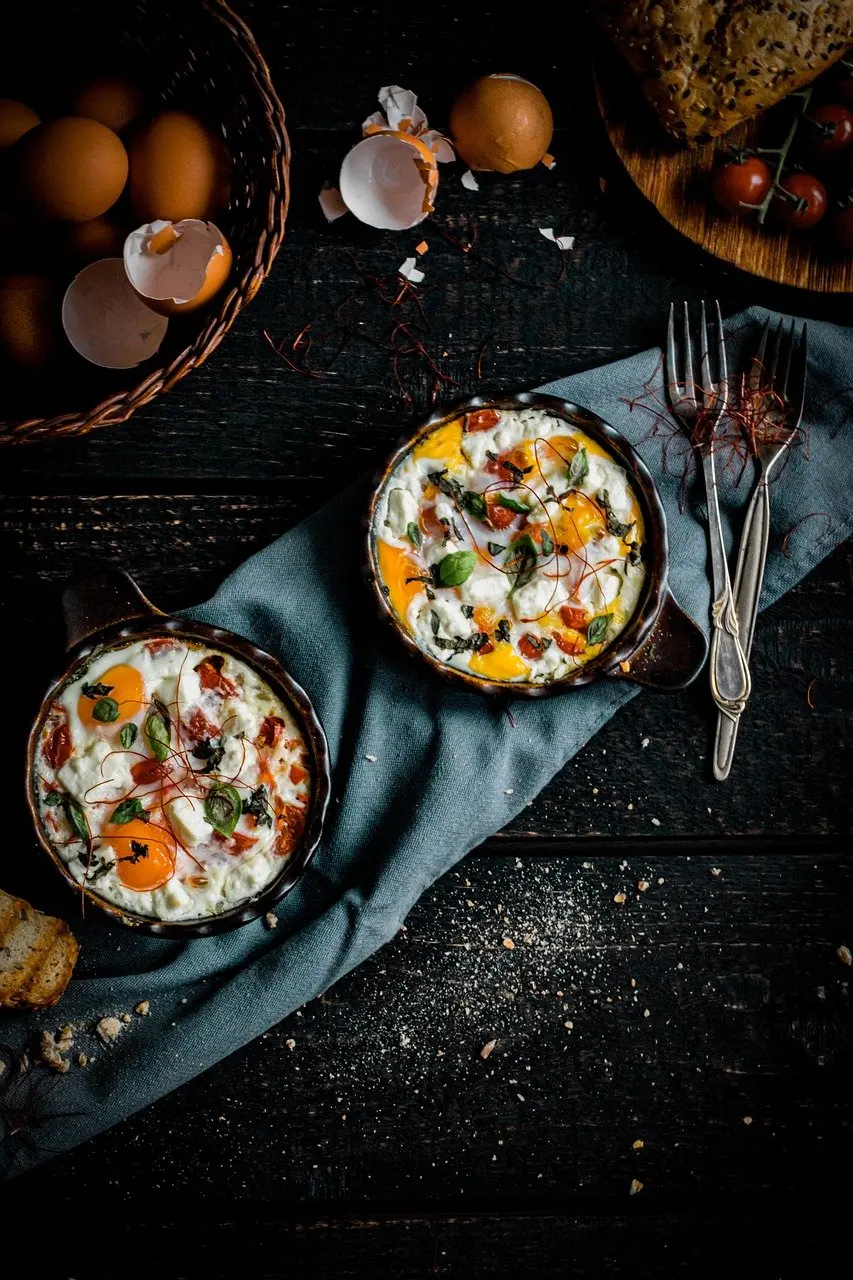
An overhead shot puts the camera directly above the food, and the result has a contemporary look. It is especially good when the frame holds multiple items in one picture, for example a main dish with bread, a glass and cutlery around it. It also suits dishes full of ingredients or visual detail, because the viewer sees all of it at once.
The trade-off is height. Anything that depends on depth, such as stacked layers, disappears when seen from straight above.
The 45-degree angle
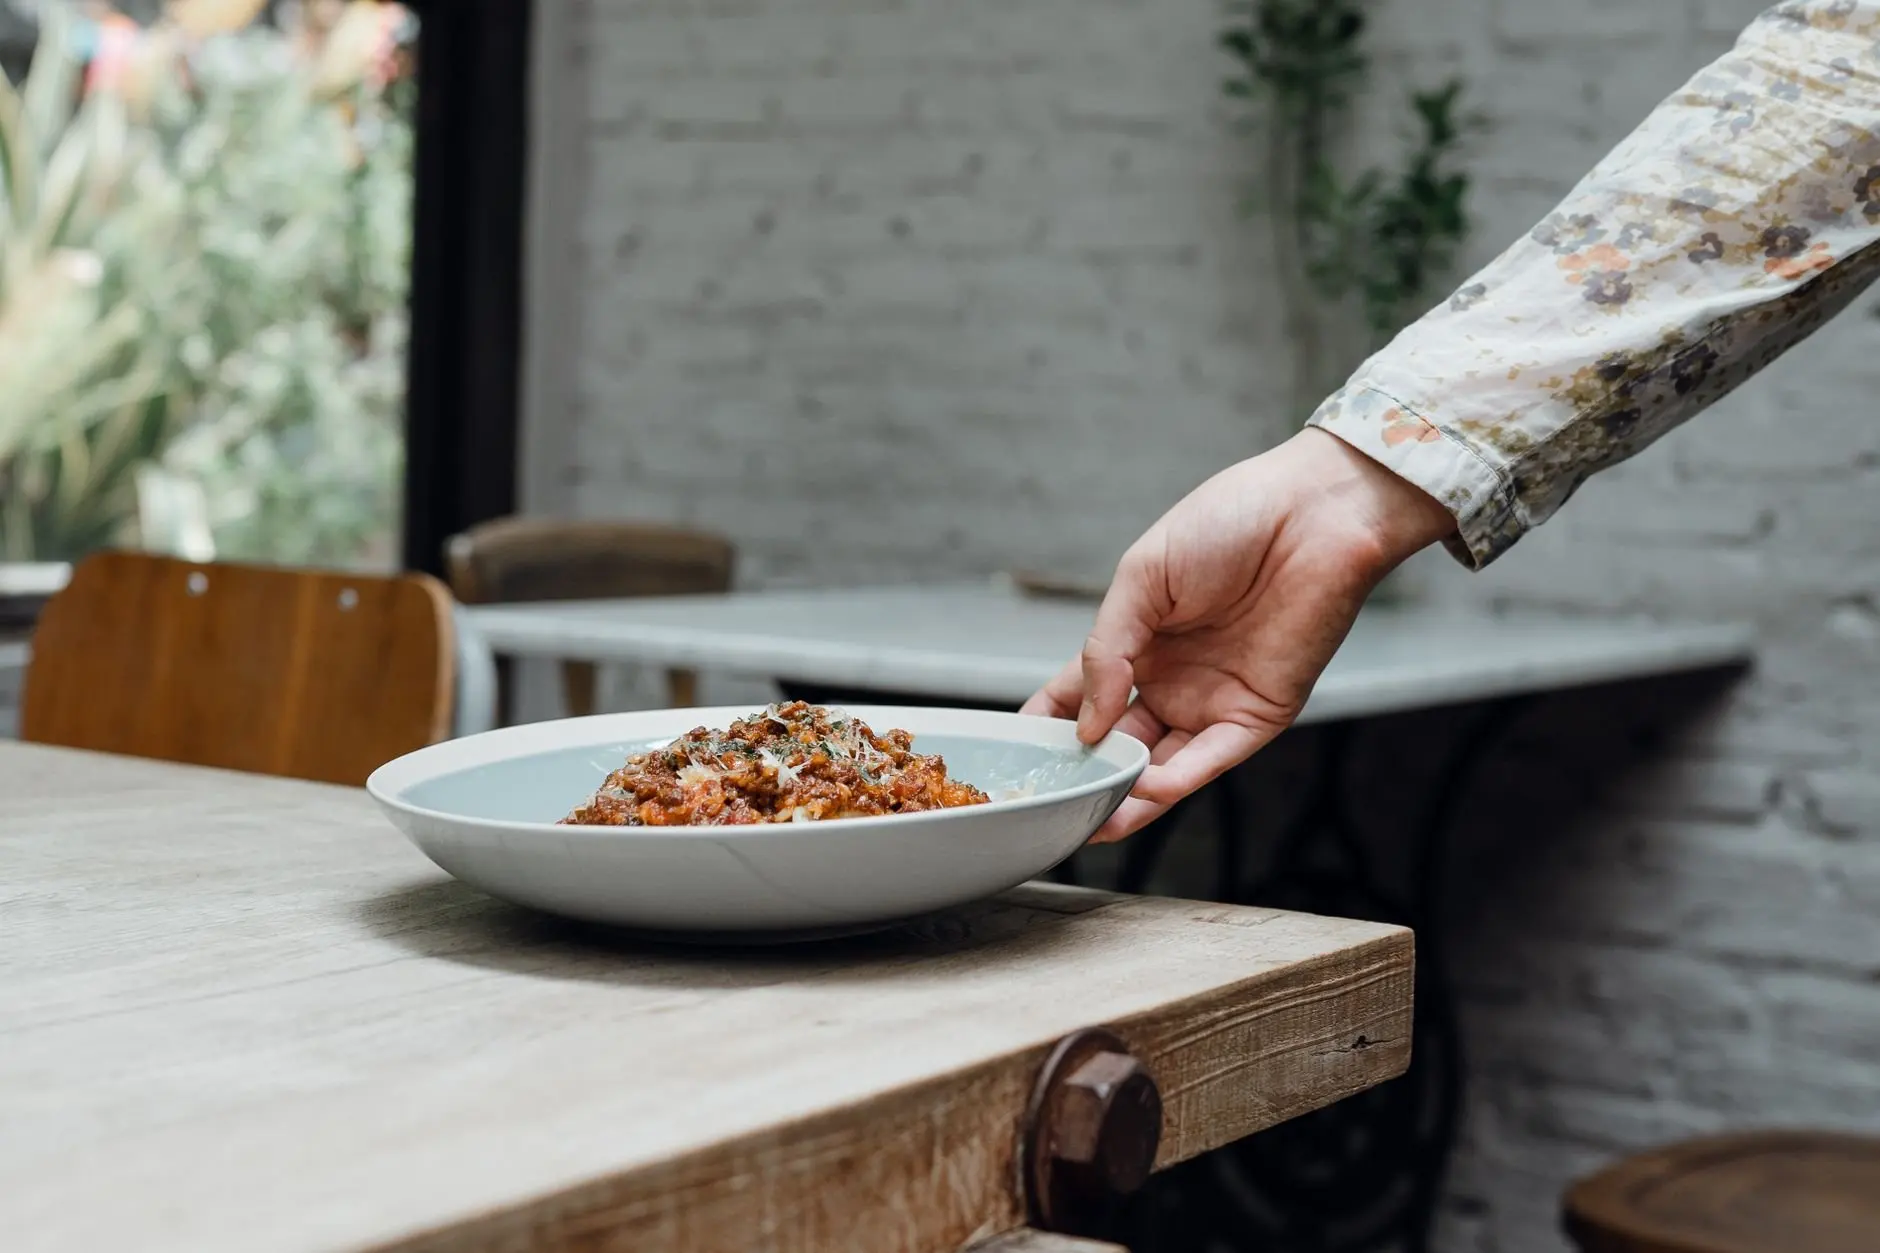
The 45-degree angle is also called the diner’s angle or three quarters. It is the position from which you would see a plate set in front of you at a table. It feels natural and familiar, as if you are about to take a bite.
Choose it when the dish should look like food about to be eaten rather than a graphic arrangement. It shows the top of the dish and some of its depth together, which makes it the safest compromise for a plate that is neither clearly flat nor clearly tall.
The straight-on angle
Straight-on means the camera sits at eye level with the food. It highlights height and layers, which suits cakes, sandwiches and tall drinks. Another photographer’s guide adds pancake stacks, layered desserts and smoothies to that list.
Straight-on food photography reads best when nothing competes with the subject, so the angle pays off most with dishes whose side view is the attraction.
Choosing an angle by dish shape
Before picking an angle, ask what makes the dish worth photographing. Three questions settle most cases:
- Where is the interest? If it is spread across the surface, go overhead. If it is stacked, go straight-on. If it is a mix, use 45 degrees.
- Is there a story beyond the plate? Bread, a board or several dishes together point to overhead, which fits several items in one frame.
- Should the image feel like a meal? A seated, about-to-eat viewpoint calls for the diner’s angle.
| Dish shape | Suggested angle | Why it works | Planning use |
|---|---|---|---|
| Pasta full of ingredients or visual detail | Overhead | Shows every ingredient at once | Pick it when the topping scatter is the appeal |
| Tuscan-style pasta with herbs scattered with purpose | 45-degree | Keeps the familiar seated view while showing the herbs | Pick it when the plate should look ready to eat |
| Flat pizza or a board of several items | Overhead | Handles multiple items in one frame | Pick it when the whole surface is the subject |
| Layered slice or tall dessert | Straight-on | Highlights height and layers | Pick it when the cut edge is the subject |
| Sandwich or tall drink | Straight-on | Eye level shows the full height | Pick it when profile matters more than the top |
These pairings draw on guidance from Great Big Photography World and Brnd House, applied here to Italian plates.
Pasta
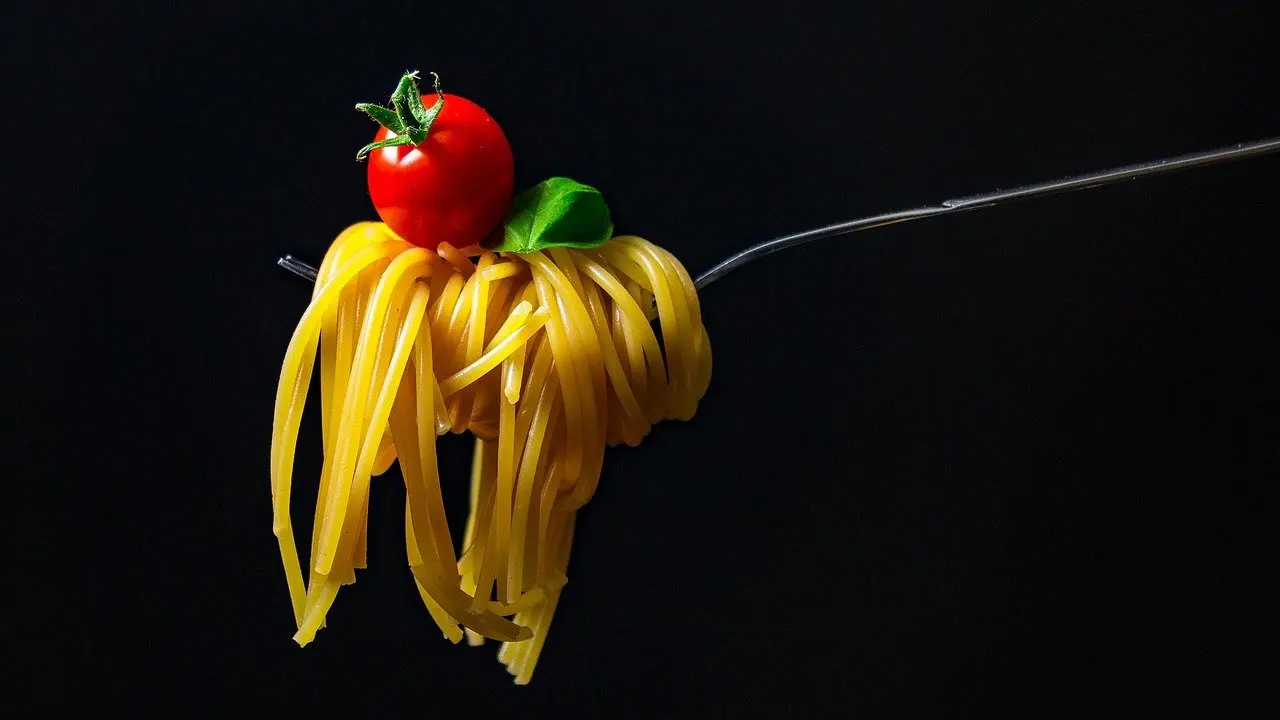
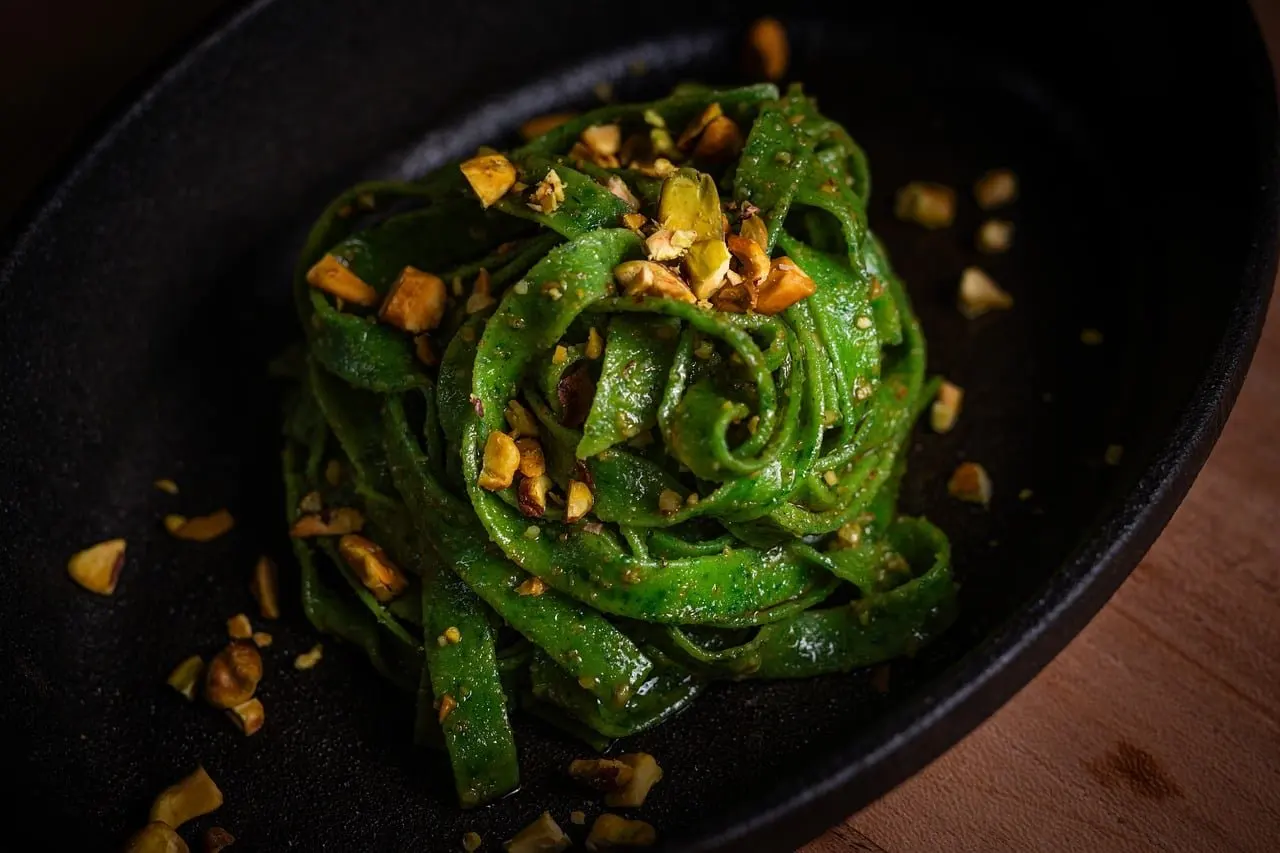
Overhead is the best angle for pasta when the plate is full of ingredients or visual detail, because pastas are named among the dishes that suit it. A bowl with basil, shaved cheese and a tangle of sauce rewards the top-down view.
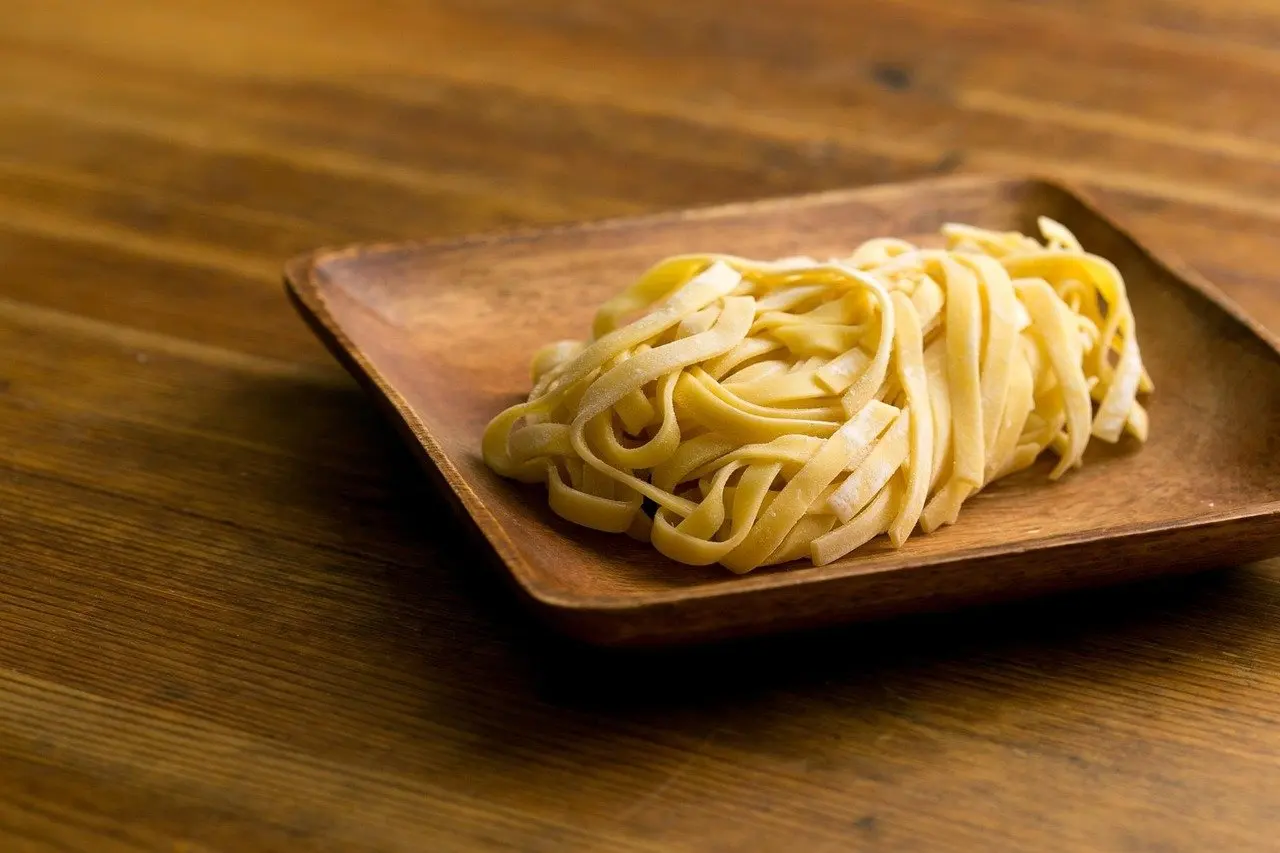
Move to 45 degrees when the pasta has volume, such as a nest of tagliatelle, and you want the viewer to feel seated at the table. A Tuscan pasta dish with herbs scattered with purpose is a typical example of that angle.
Pizza and other flat dishes
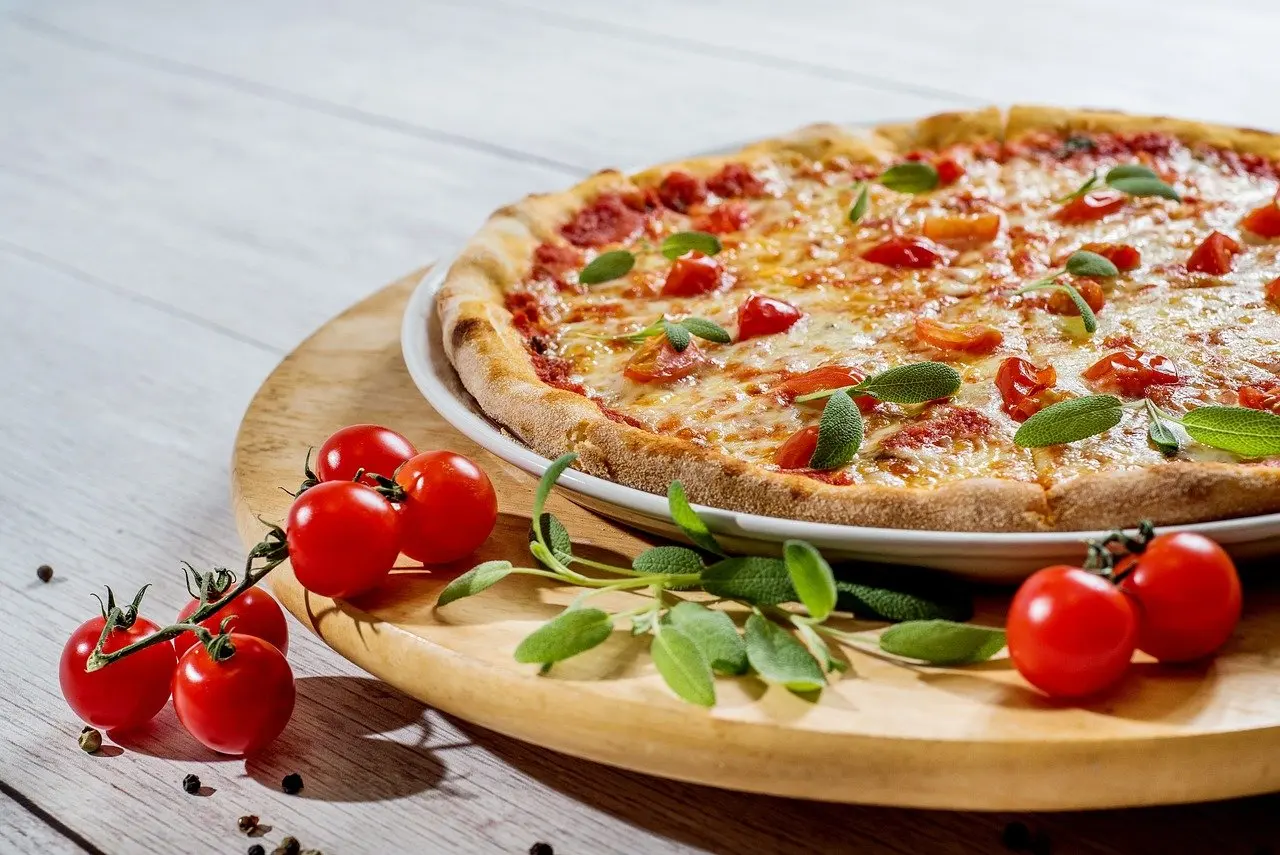
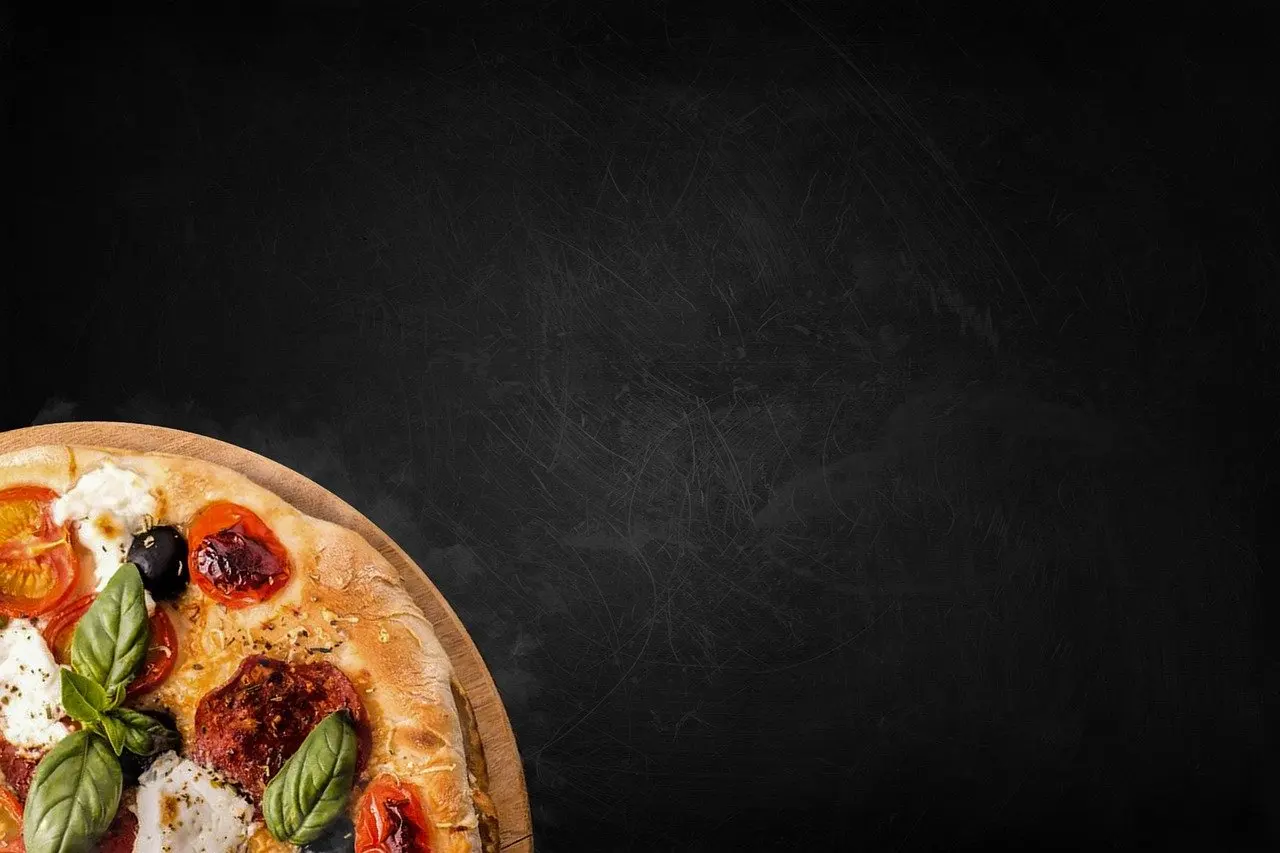
A pizza margherita is a round, shallow dish whose appeal is its surface: tomato, mozzarella and basil spread across the top. Overhead gives that surface the whole frame and leaves room for a board, a napkin or empty background beside it.
Layered dishes such as lasagna
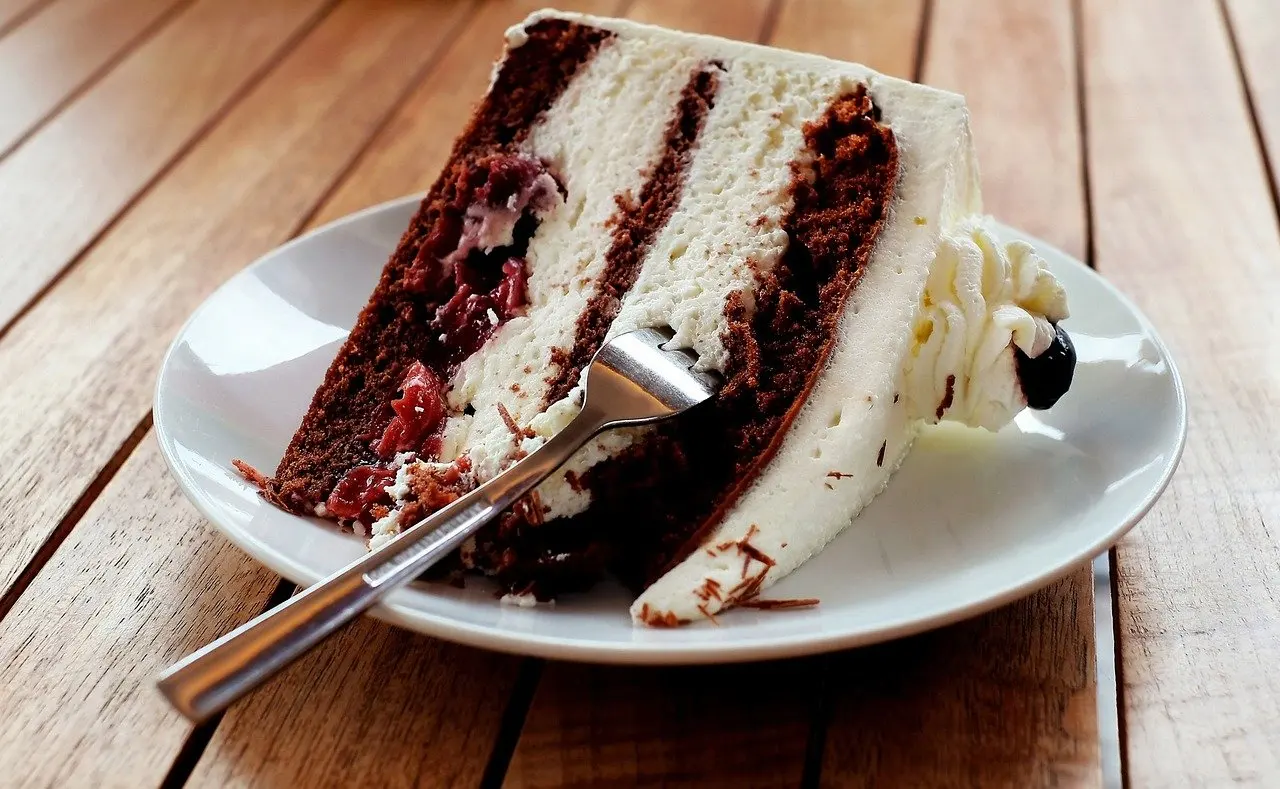
A lasagna slice owes its appeal to its layers, so the camera belongs at eye level with the cut face. This is a judgement based on the guidance that straight-on highlights height and layers. Photographed from above, the same slice shows only the top crust.
Keep the background simple. A simple background will not take the look from your photo.
Camera height, lens and perspective
Camera height is the mechanism behind all three angles. Lowering the camera to eye level gives the straight-on view, raising it above the plate gives the diner’s angle, and holding it over the food gives the overhead shot. Each step changes how much of the top and how much of the side the viewer sees.
The lens matters mainly overhead. Narrow lenses can reduce distortion at the edges of the frame, so keep important food away from the corners if the picture looks stretched.
Moving closer changes perspective too. A tight, close angle focuses on the textures and shape of the food. It suits a single detail, such as the edge of a ravioli or the crust of a bake.
Picking an angle for a dish you have not shot before
Start by deciding where the focus should be, then consider the objects and layers in the frame. If the focus is a cut face or a stack, go low. If it is a spread of ingredients, go high. If it is the whole plate as a meal, sit at the diner’s angle.
Rules only go so far, because choosing a camera angle is subjective and personal. The photographer behind that guide advises shooting as many angles as you can, which leaves plenty of options when you review the results. Photographing a dish at all three angles also reveals entirely different moods, so the comparison itself is useful.
Troubleshooting weak angle choices
- The dish looks flat. Lower the camera. If the food has height or layers, an overhead view hides what makes it interesting. Straight-on or 45 degrees will bring it back.
- The plate looks cluttered. Move to an angle that shows less of the surroundings, or simplify the background, especially for straight-on shots. Plating adjustments are covered in food styling tips for beginners.
- The edges look stretched overhead. Keep key food away from the corners of the frame, as narrow lenses reduce edge distortion.
- The angle is right but the picture feels unbalanced. Rework the arrangement using these food photography composition tips.
- You cannot decide. Shoot every angle and compare. Judgement improves quickly when the same dish sits side by side at each height.
Frequently asked questions
Does the angle change how big the portion looks?
Angle changes which dimension the viewer reads. Straight-on emphasises height and layers, while overhead shows how much is spread across the plate. The same dish at each angle gives a different mood, so test a portion at more than one.
Why is overhead the easiest angle on a smartphone?
Phones have a wide-angle lens, which makes it easy to fit a whole plate and its surroundings into a top-down frame.
Why are burgers shot straight-on rather than from overhead?
A burger has a bun that would hide what is inside if it were shot overhead. Straight-on shows the filling and the stack.
Does straight-on need a special background?
It needs a simple one that will not distract from the food, because the background is clearly visible at eye level.