| Symptom | First action | Planning use |
|---|---|---|
| Yellow or orange cast over whites | Adjust white balance until white areas read as true white | Do this before any other slider, because every later brightness and colour judgement depends on it. |
| Dark, flat plate | Raise brightness or lightness | Fix overall lightness first, then move on to lights, shadows and contrast. |
| White background looks washed out | Leave the Exposure slider alone unless needed | Use brightness and highlight controls instead, so white plates and tablecloths keep their detail. |
| Plate lacks definition | Work on lights and shadows before touching contrast | Contrast is a finishing touch, not the tool that creates definition. |
These actions follow the editing guidance from The Simple Sweet Life and Vocal’s beginner food editing tips.
To learn how to edit food photos well, work in a fixed order: correct white balance, set brightness, refine shadows and contrast, adjust colour, crop, then sharpen last. A yellow cast from window light is the first thing to fix.
This guide suits anyone with a finished shot and an editing app on a laptop or phone. For the shooting side, read food photography for beginners, and for plated pasta see how to photograph pasta.
Choosing RAW or JPEG before you edit
The file format decides how much the first edit will change. According to FoodShot’s editing guide, RAW photo files are intentionally flat. They are built to preserve data for editing, so a dull-looking RAW file is normal and not a sign of a failed shot.
The same guide notes that even JPEGs from an iPhone apply automatic processing. A JPEG therefore arrives with the camera’s contrast and colour decisions already baked in, and your edits sit on top of them.
The practical choice is simple. Shoot RAW if your camera offers it and you plan to edit every frame. Keep JPEG for quick phone work where speed matters more than editing headroom. Note also that, according to a Lightroom Queen forum discussion, Lightroom uses the white balance set by the camera when it opens a RAW file. A yellow cast from the shot therefore shows up as your starting point and is yours to correct.

Fixing a yellow cast with white balance
White balance is the correction that matters most for window-lit dishes. Warm indoor light, a cream wall or a wooden table can push a plate of pasta or a slice of tiramisu toward yellow. The aim is simple: according to The Simple Sweet Life, you have the colour balance right when the white in the photo is a true white.
Start with whatever white-balance control your app offers and look at a plate rim, a napkin or a white wall. If those whites still lean yellow, work through these diagnostic steps.
- Whites look cream or yellow: move the temperature or tint control until the white reference looks neutral, then check that the food itself has not turned cold or grey.
- Cast remains after the main control: reduce the red and green values and increase blue, which is the direction the same guide gives for a yellow tint. Its author suggests Pixlr or GIMP for adjusting individual colour channels.
- Shots from one session look inconsistent: fix one frame, save the white balance as a preset and apply it to the matching shots. A Lightroom user in the forum thread did exactly this with a batch of flash shots.
Light source matters before you edit, too. BeFunky’s food photography guide advises avoiding direct sunlight, which creates harsh highlights and distracting shadows, so shoot in indirect window light and the cast you correct later will be milder. The forum thread also shows how widely the camera’s reading can swing. That is one user’s report, not a standard, but it shows why the camera’s as-shot value is only a starting point.
Setting brightness, shadows and contrast
Once the whites are neutral, set the overall lightness. The Simple Sweet Life says to increase lightness or brightness when a photo is dark. Vocal’s beginner guide explains the order: adjust brightness first, because it changes the overall lightness, then lights and shadows, then contrast.
The same Vocal guide recommends avoiding the Exposure tool unless necessary, and it warns that Exposure can wash out white backgrounds. That makes brightness the safer first move on a bright plate on a white surface. It also says not to rely on contrast to give definition. Use contrast last, as a small finishing push.
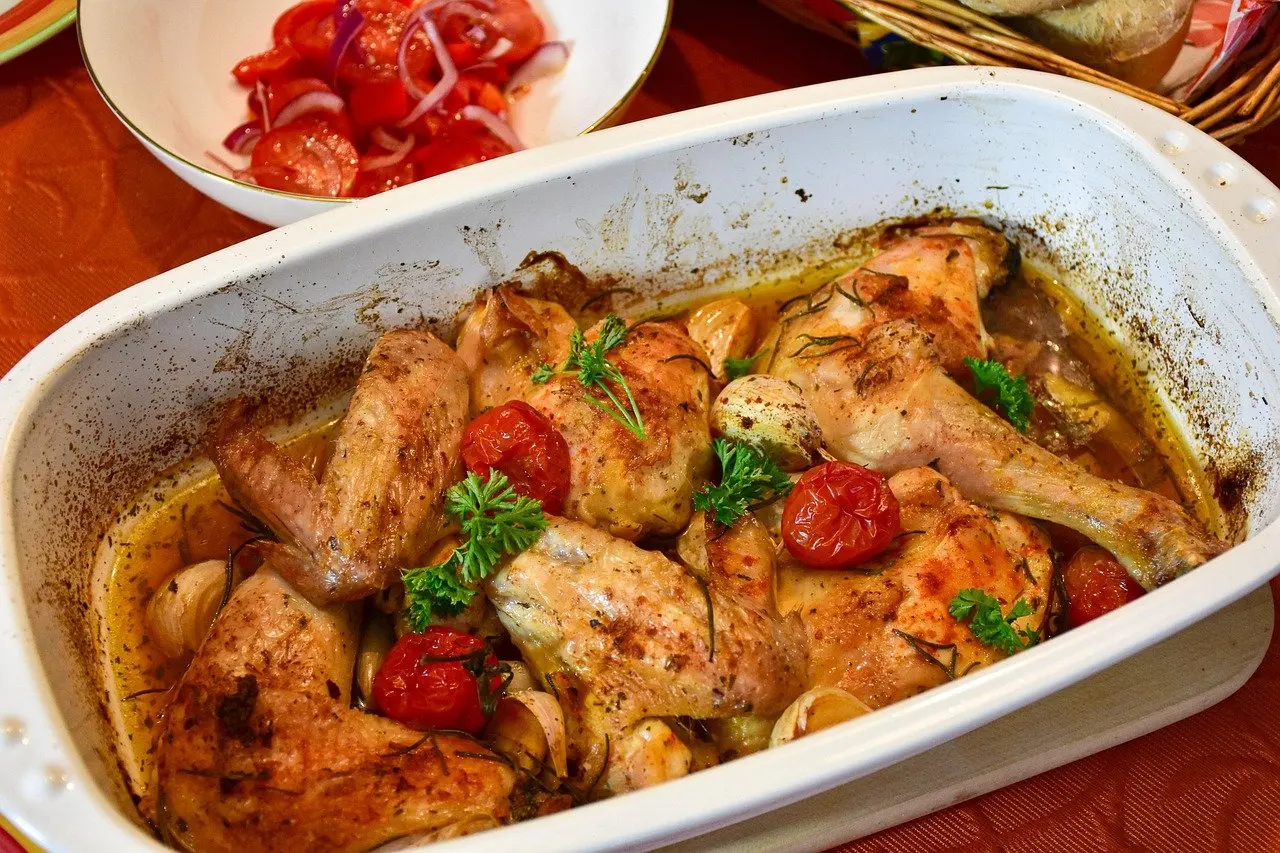
FoodShot gives typical starting ranges for food. Treat them as places to begin and stop when the plate looks natural, not as targets to reach.
- Highlights: pull down between -20 and -40 to keep bright areas from blowing out.
- Shadows: push up between +15 and +30 to reveal texture hiding in darker areas.
- Whites: raise between +10 and +20 for a cleaner, brighter feel.
- Clarity: set between +30 and +50 for texture on crusts, sauces and crumb.
Judge each change on the food, not the background. If a pasta sauce loses its glossy highlights or a tiramisu dusting turns grey, step the slider back.
Colour: vibrance before saturation
Colour comes after tone, because lightness changes how strong colours appear. Vocal’s guide says subtle edits in colour can go a long way, and heavy saturation is the quickest route to an artificial plate.
FoodShot explains that Adobe originally developed the Vibrance tool specifically to prevent the unnatural over-saturation problem. For food it suggests Vibrance from +15 to +30 and Saturation at most +5. Reach for Vibrance first for tomatoes, basil and egg yolks. Use Saturation only for a small final nudge, and re-check the whites if the cast creeps back.
Cropping and straightening
Cropping fixes composition and tilt in one move. FoodShot notes that even 1–2 degrees of tilt looks sloppy, so straighten a plate on a board or a table edge before you crop for shape.
Choose the ratio for where the photo will appear. The same guide recommends 4:5 for Instagram food photos, 1:1 for delivery app listings and 16:9 for website banners. If you are shooting with cropping in mind, leave 10–15% extra around the edges so you can recompose later. Shooting level from the start also leaves less to straighten, and the setup side is covered in best tripod for food photography.
Editing food photos on a phone
A phone follows the same order as a desktop edit: white balance, brightness, shadows, colour, crop, then sharpen. The apps differ in layout, not in logic. BeFunky says its Mobile App lets you quickly enhance photos on a phone, and Vocal points out that Apple devices already include a Photos app with basic built-in editing tools.
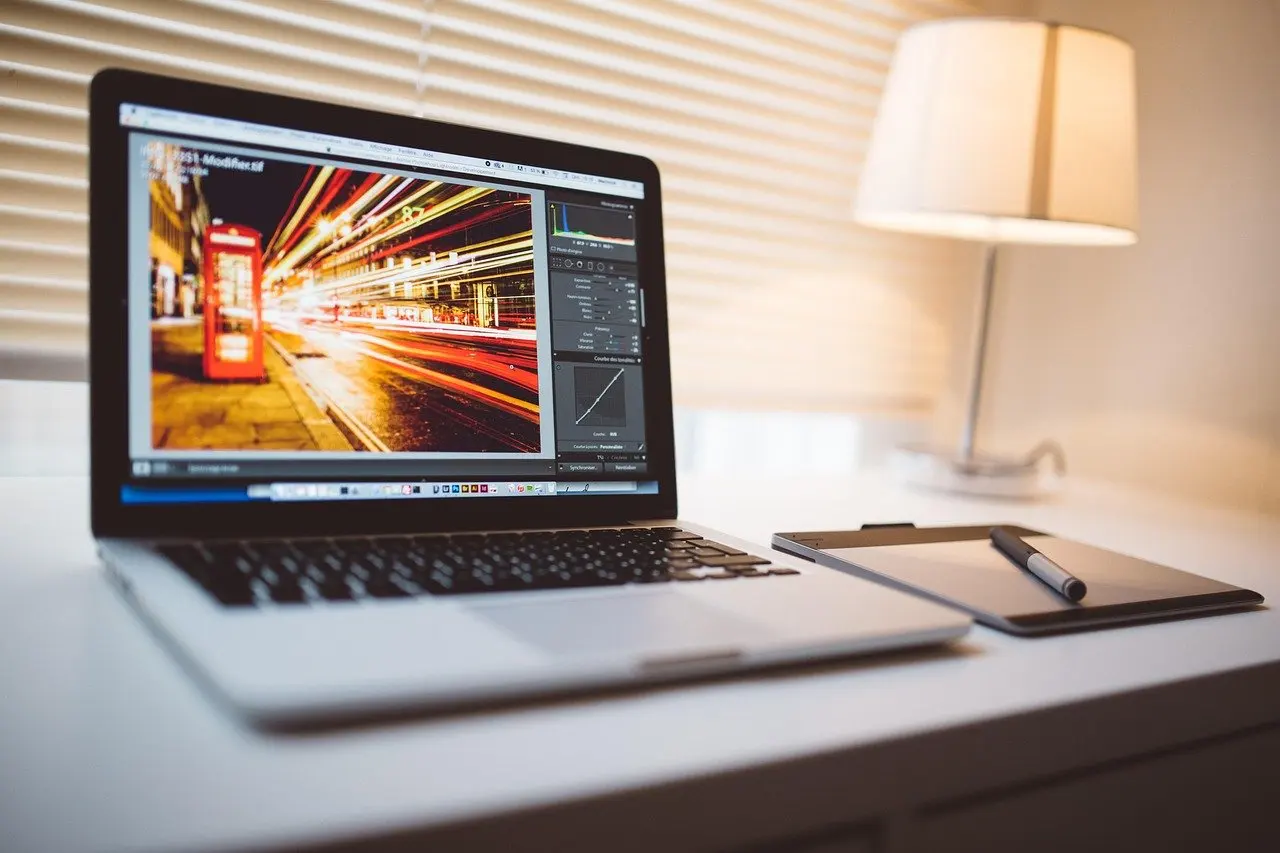
For phone shots, the best correction is still made at the window. Use indirect light as BeFunky advises, then edit on the phone with the built-in tools first. Only add another app if the built-in one lacks a control you need, such as separate colour channels.
Presets and apps: what you actually need
Presets are optional. A preset is a saved set of adjustments, and the most useful kind in this workflow is a white-balance preset: the Lightroom user in the forum thread created one for a lighting setup and applied it to all matching shots. That saves time when a batch of dishes is photographed in the same window light.
Do not apply a preset blindly to a new scene. A preset built for one light will not remove the yellow cast from another. Start from your own white-balance correction, then use a preset only where the light matches.
Sharpening last and knowing when to stop
Sharpening goes at the very end. FoodShot says to always sharpen last, after all colour and exposure work is done, and Vocal’s guide gives the same order. Sharpening earlier exaggerates any noise or colour fringing that later edits would have changed.
Finish by viewing the photo next to the original. If the edited version looks more natural, with neutral whites, visible texture and a crop that fits its destination, the edit is done. If it looks processed, step back through the sliders in reverse order.
Frequently asked questions
| Question | Answer |
|---|---|
| What are the basic edits every food photo needs? | White balance, brightness, shadow and highlight control, a crop and a final sharpen cover most plates. Colour and contrast are optional refinements. |
| Do I need presets to edit food photos? | No. They only speed up a batch shot in matching light. A white-balance preset is the most practical kind to save. |
| Should I shoot RAW or JPEG for food? | RAW if you want editing headroom and accept a flat starting file. JPEG if you want a quick result, knowing the camera has already processed it. |
| How do I edit food photos on a phone? | Use the phone’s built-in photo editor or an app such as BeFunky’s Mobile App, and keep the same order as on a laptop. |